There is no better way to immortalize the plants of summer than to turn them in to wearable artwork! One of my favorite ways of doing this is to bundle eco-print. While each plant may require a slightly different process to acquire the best print, here are the basics so you can get started!
What you will need:
- Fibers for dyeing
- A mordant
- Plant/insect materials
- A large pot with a basket to steam fibers (a slow cooker works well, too)
- A flat, clean surface (I use a yoga mat, but others use tables or plastic wrap)
- Bundling sticks (smooth sticks, driftwood, PVC pipes, metal pipes, and chopsticks all great options)
- Twine
How to Bundle Eco-Print
- Prepare your fibers by first scouring, then mordanting. Keep in mind that the mordant that you choose can drastically change the color of your finished piece!
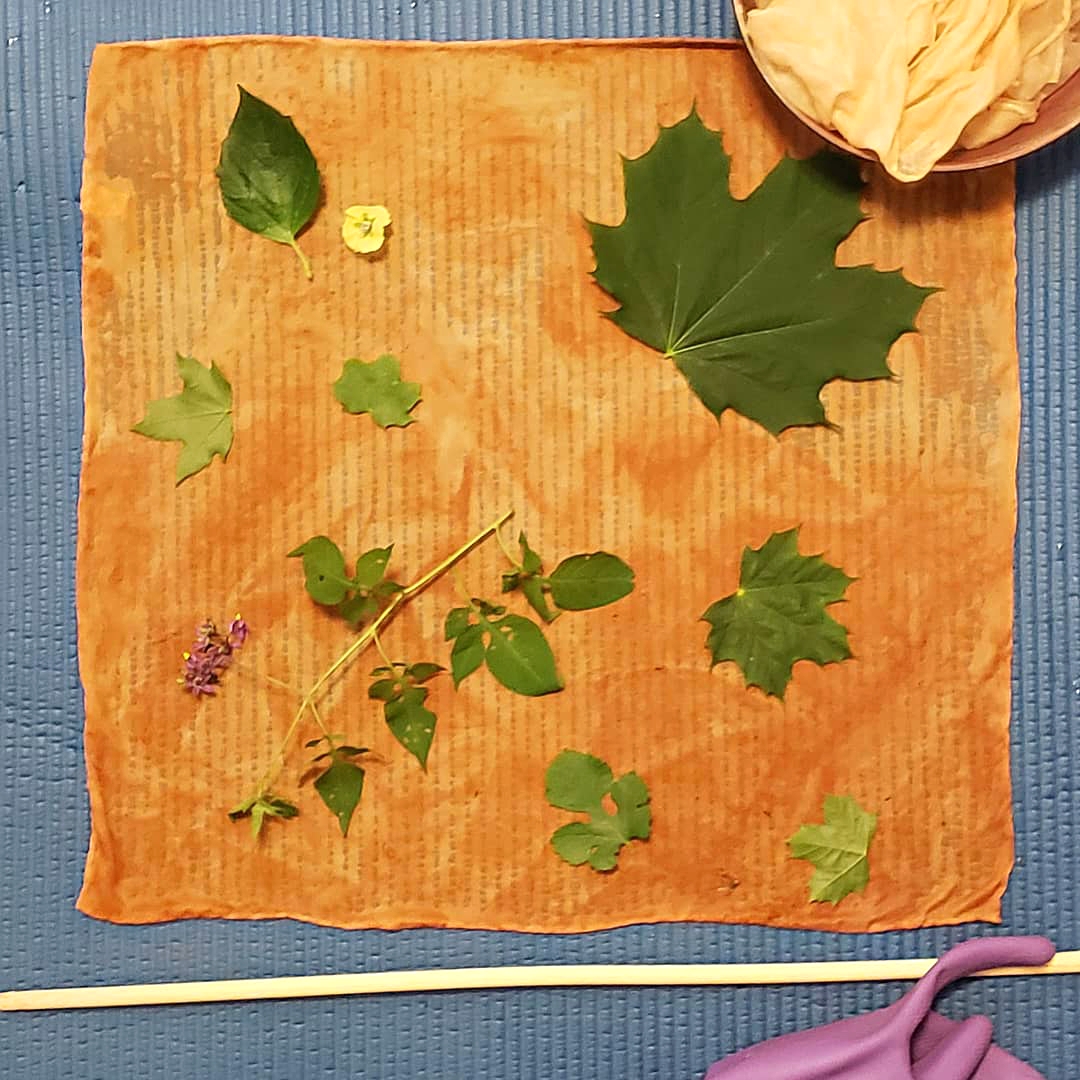
- Lay your fiber on your flat, clean surface
- Place the dye materials on one half of the fiber you are hoping to dye
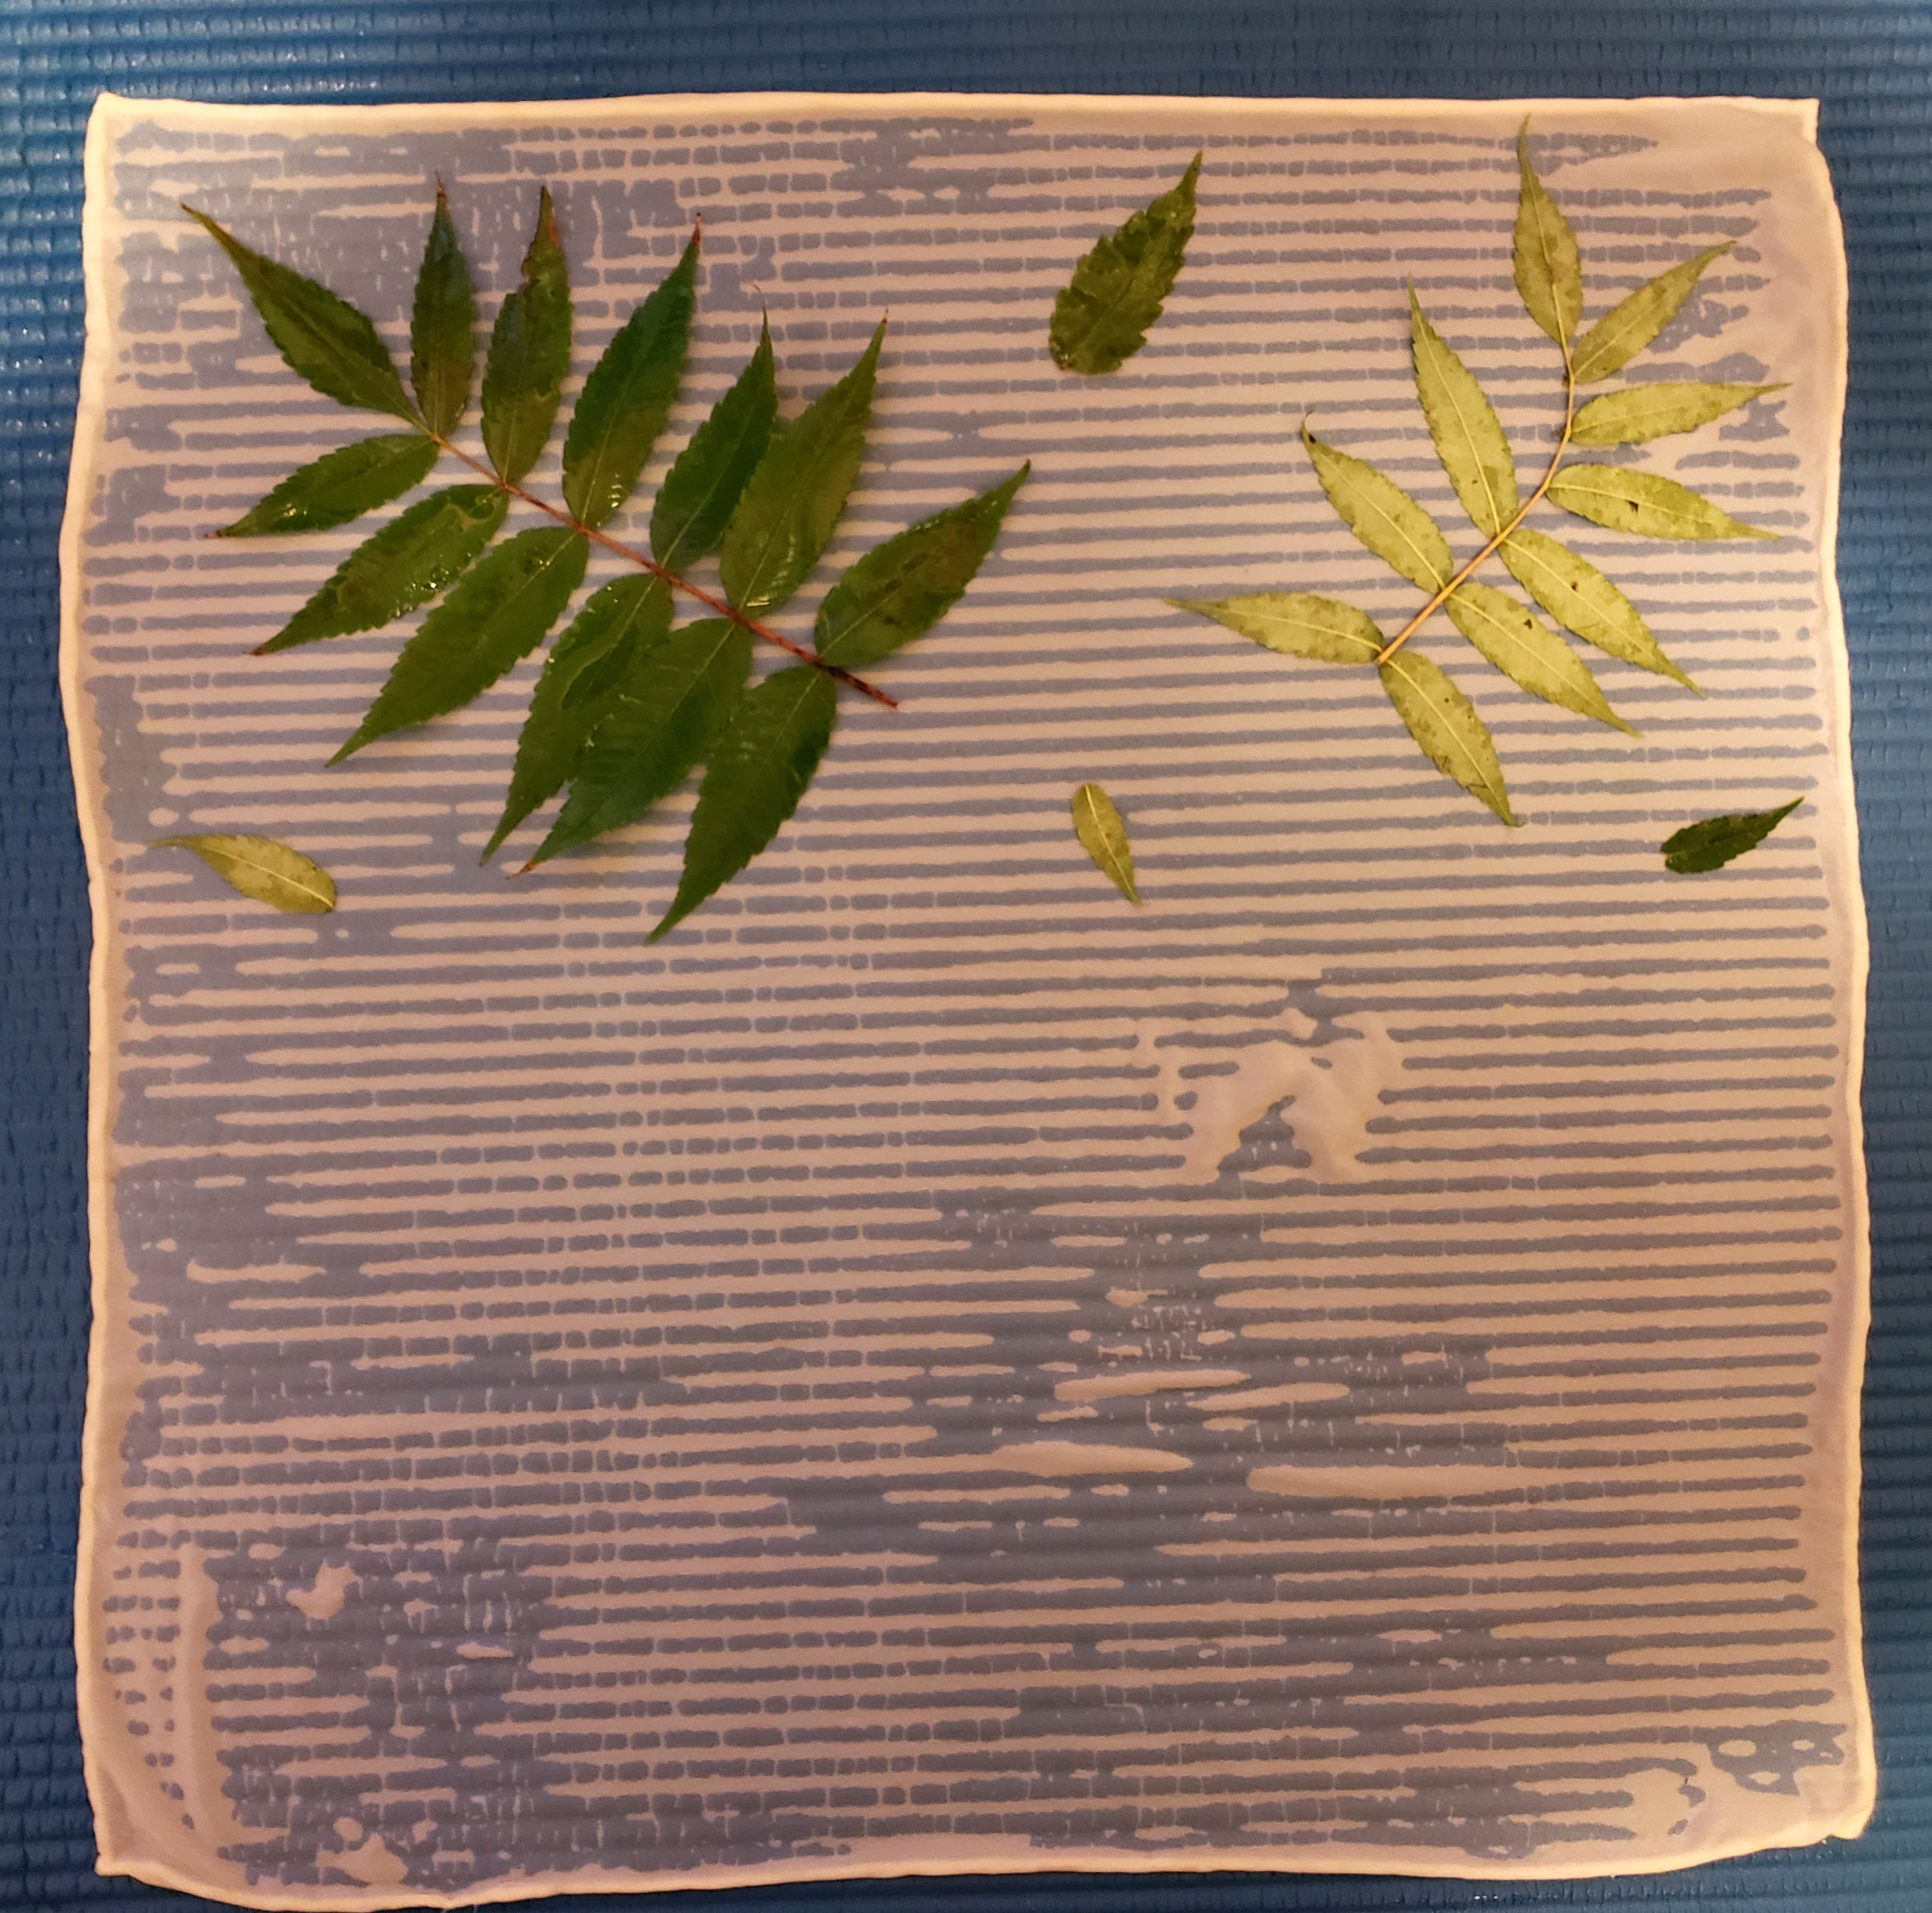
- Carefully fold the other half of your fiber over the dye materials
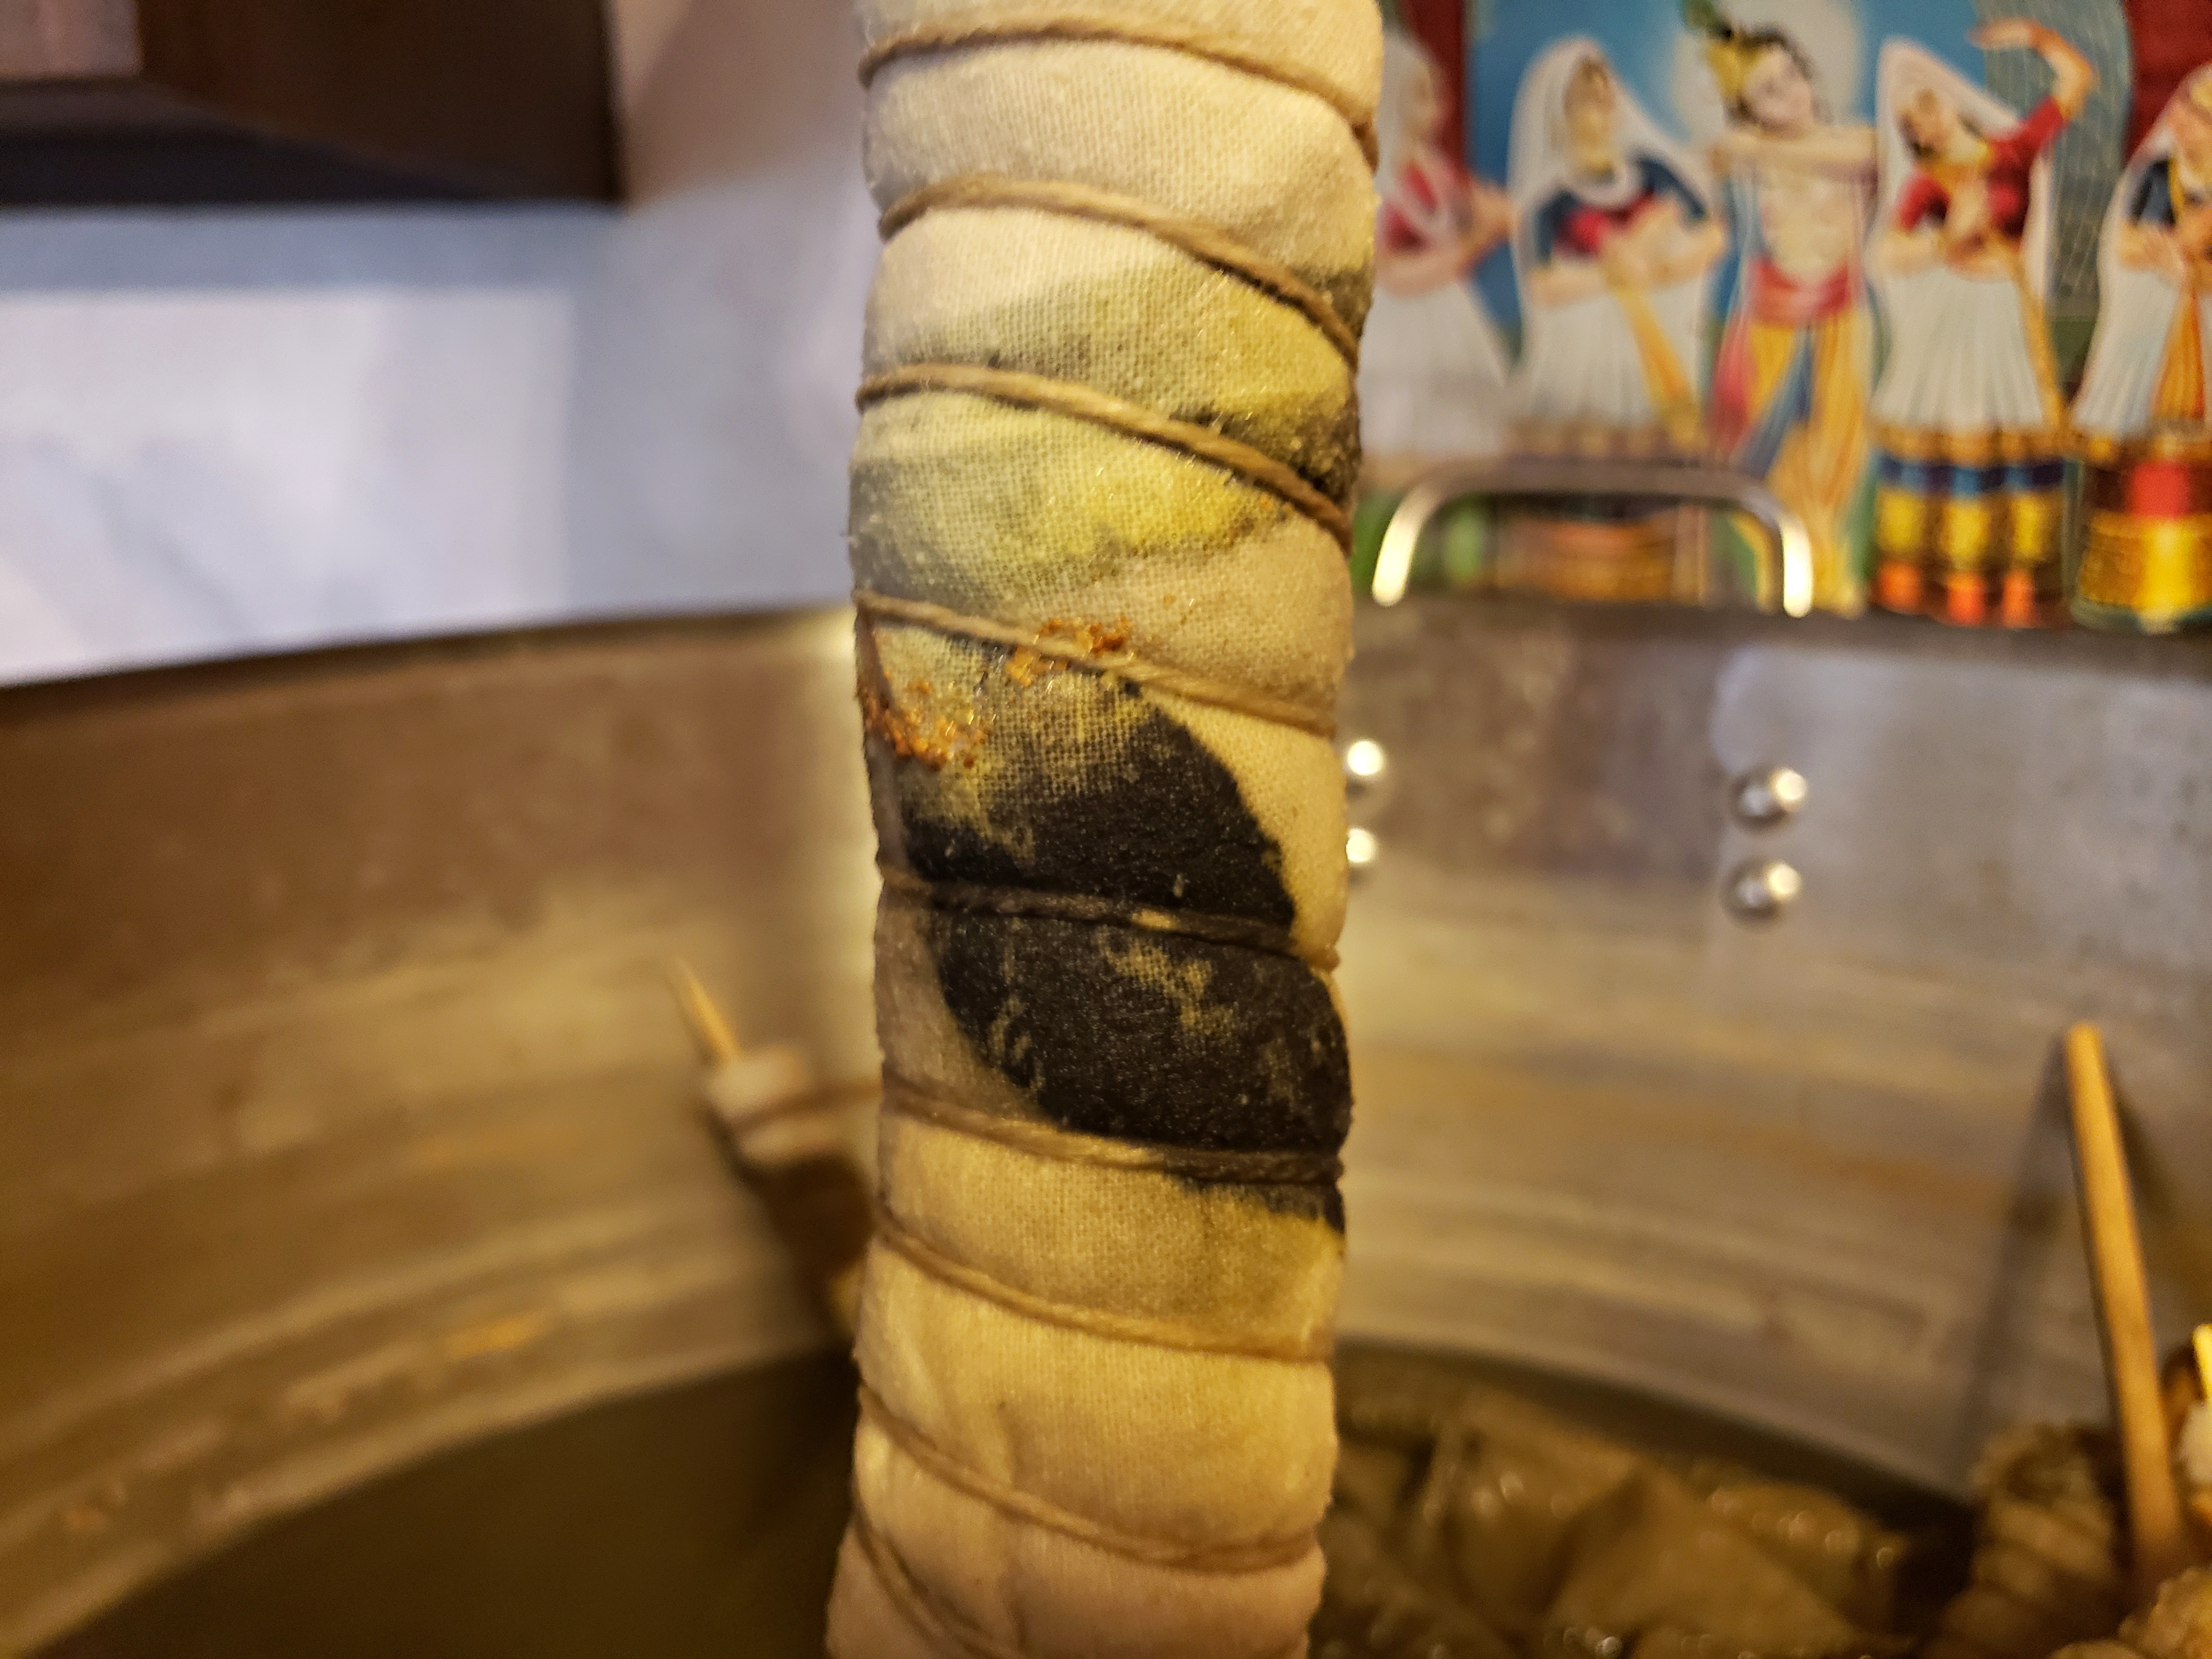
- Place your bundling stick on one end and tightly roll your fiber around the stick
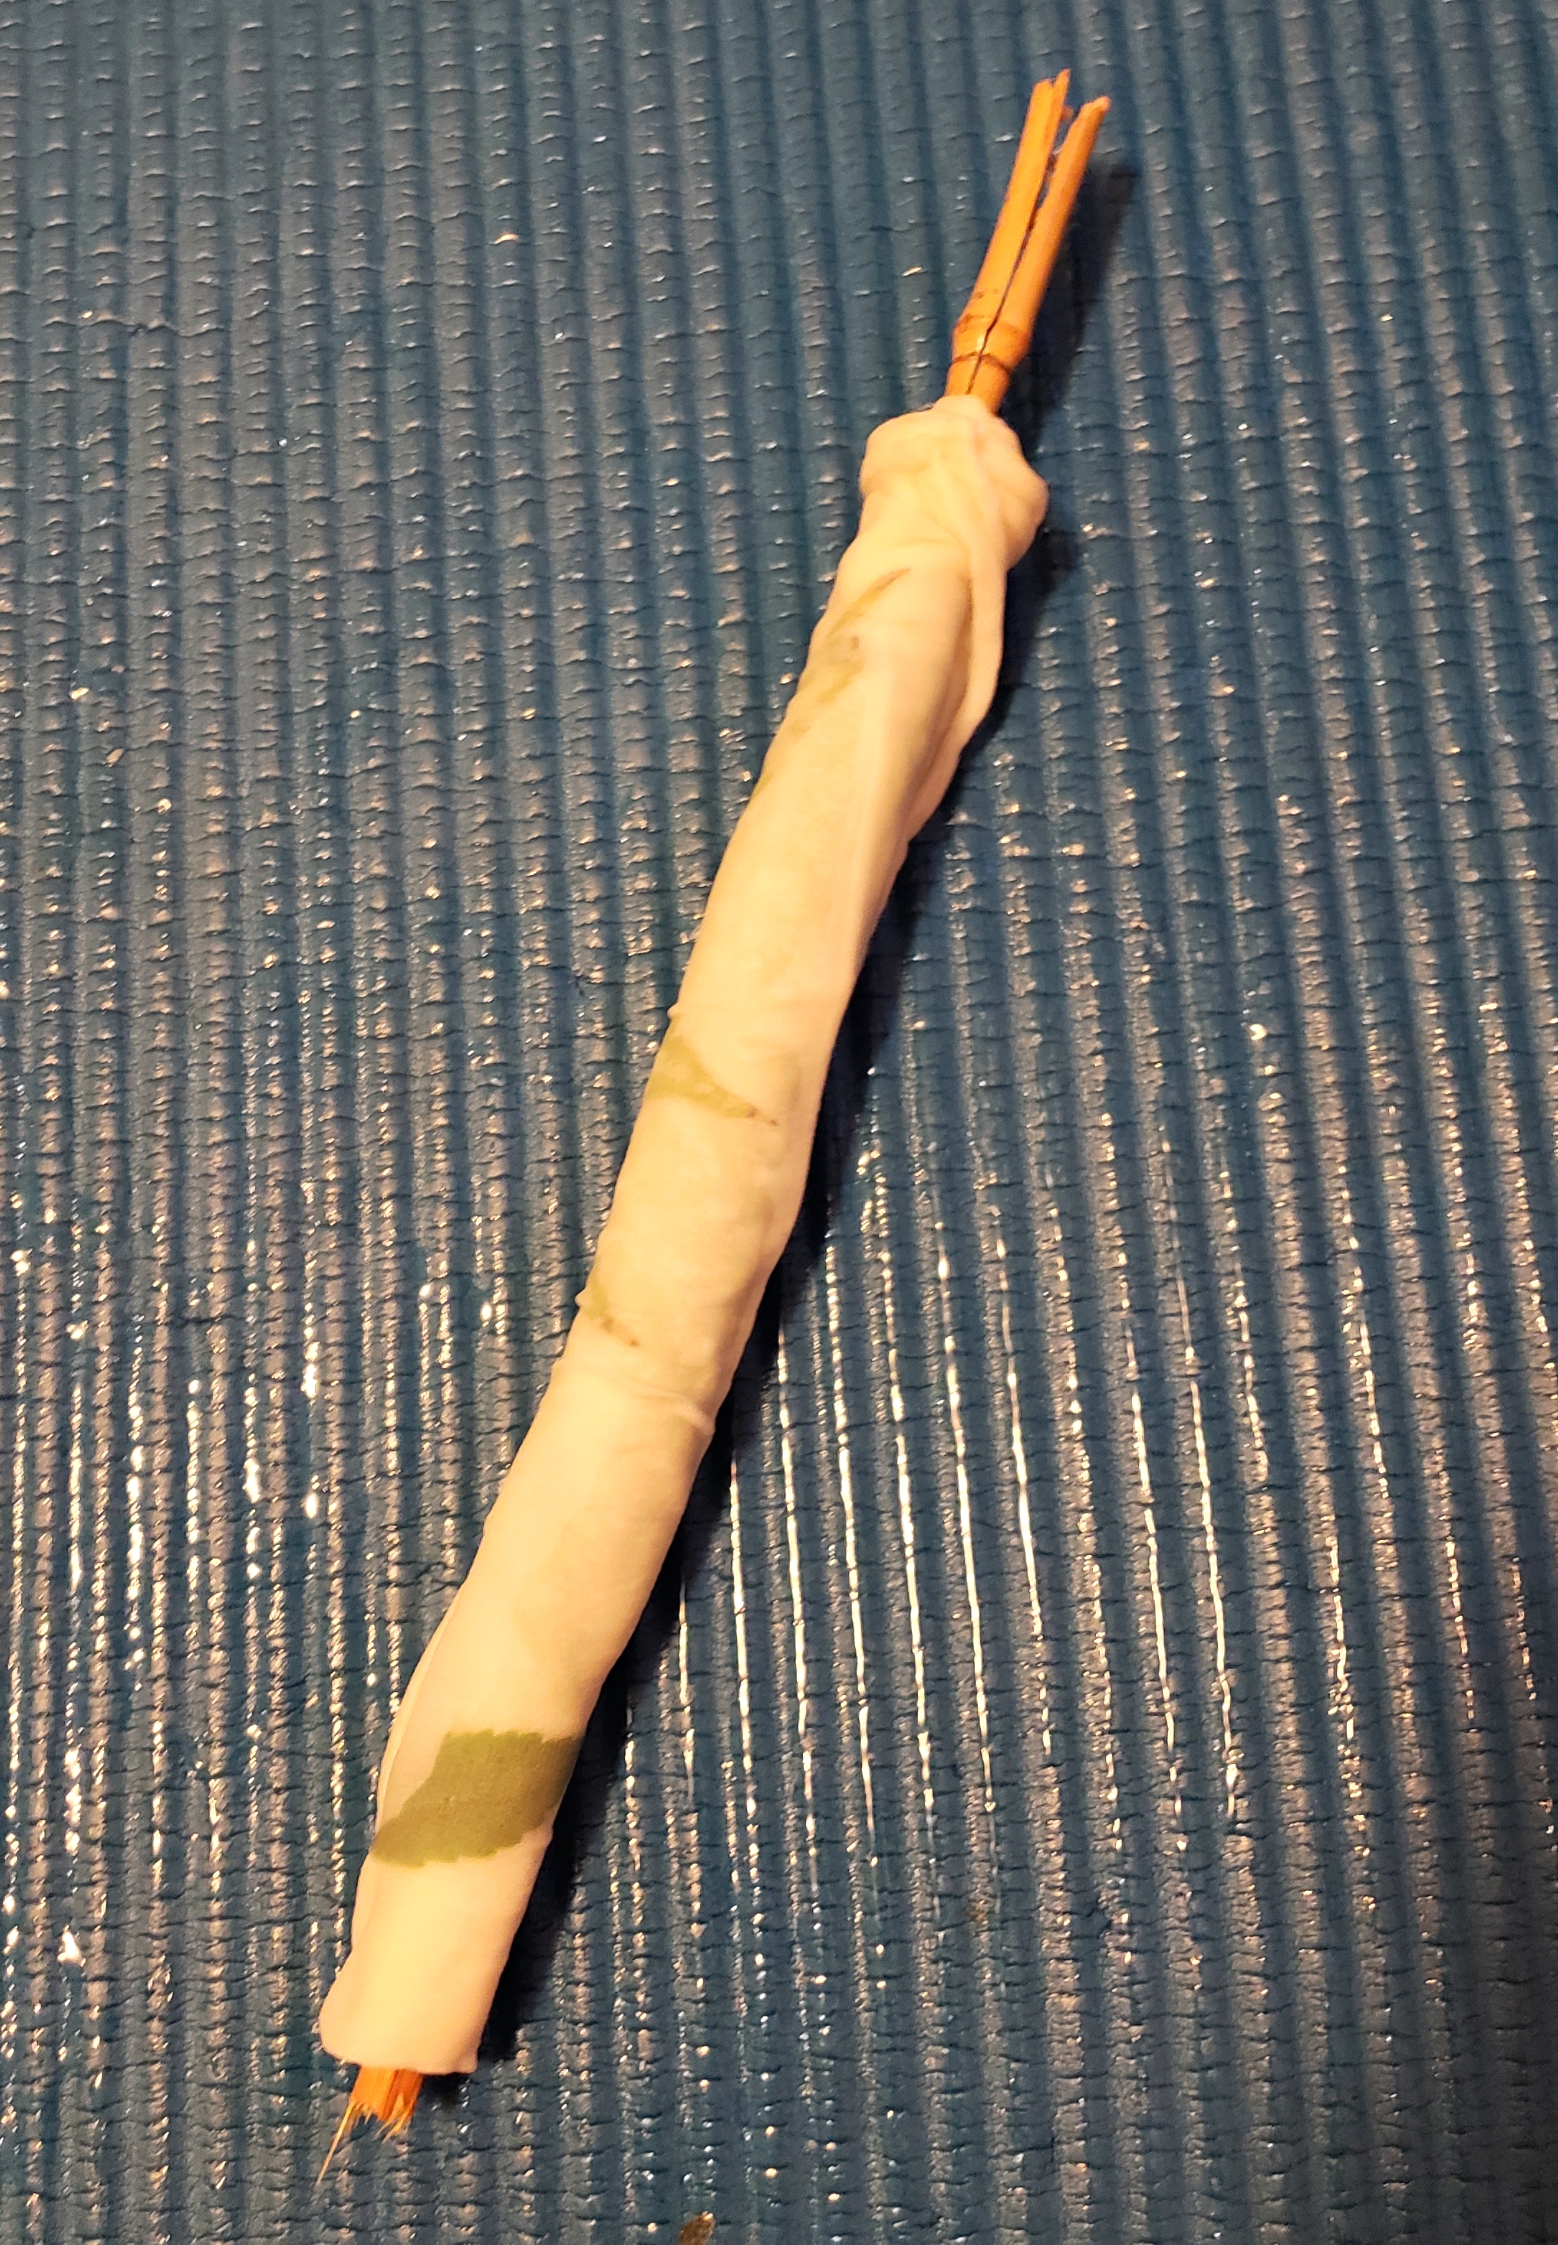
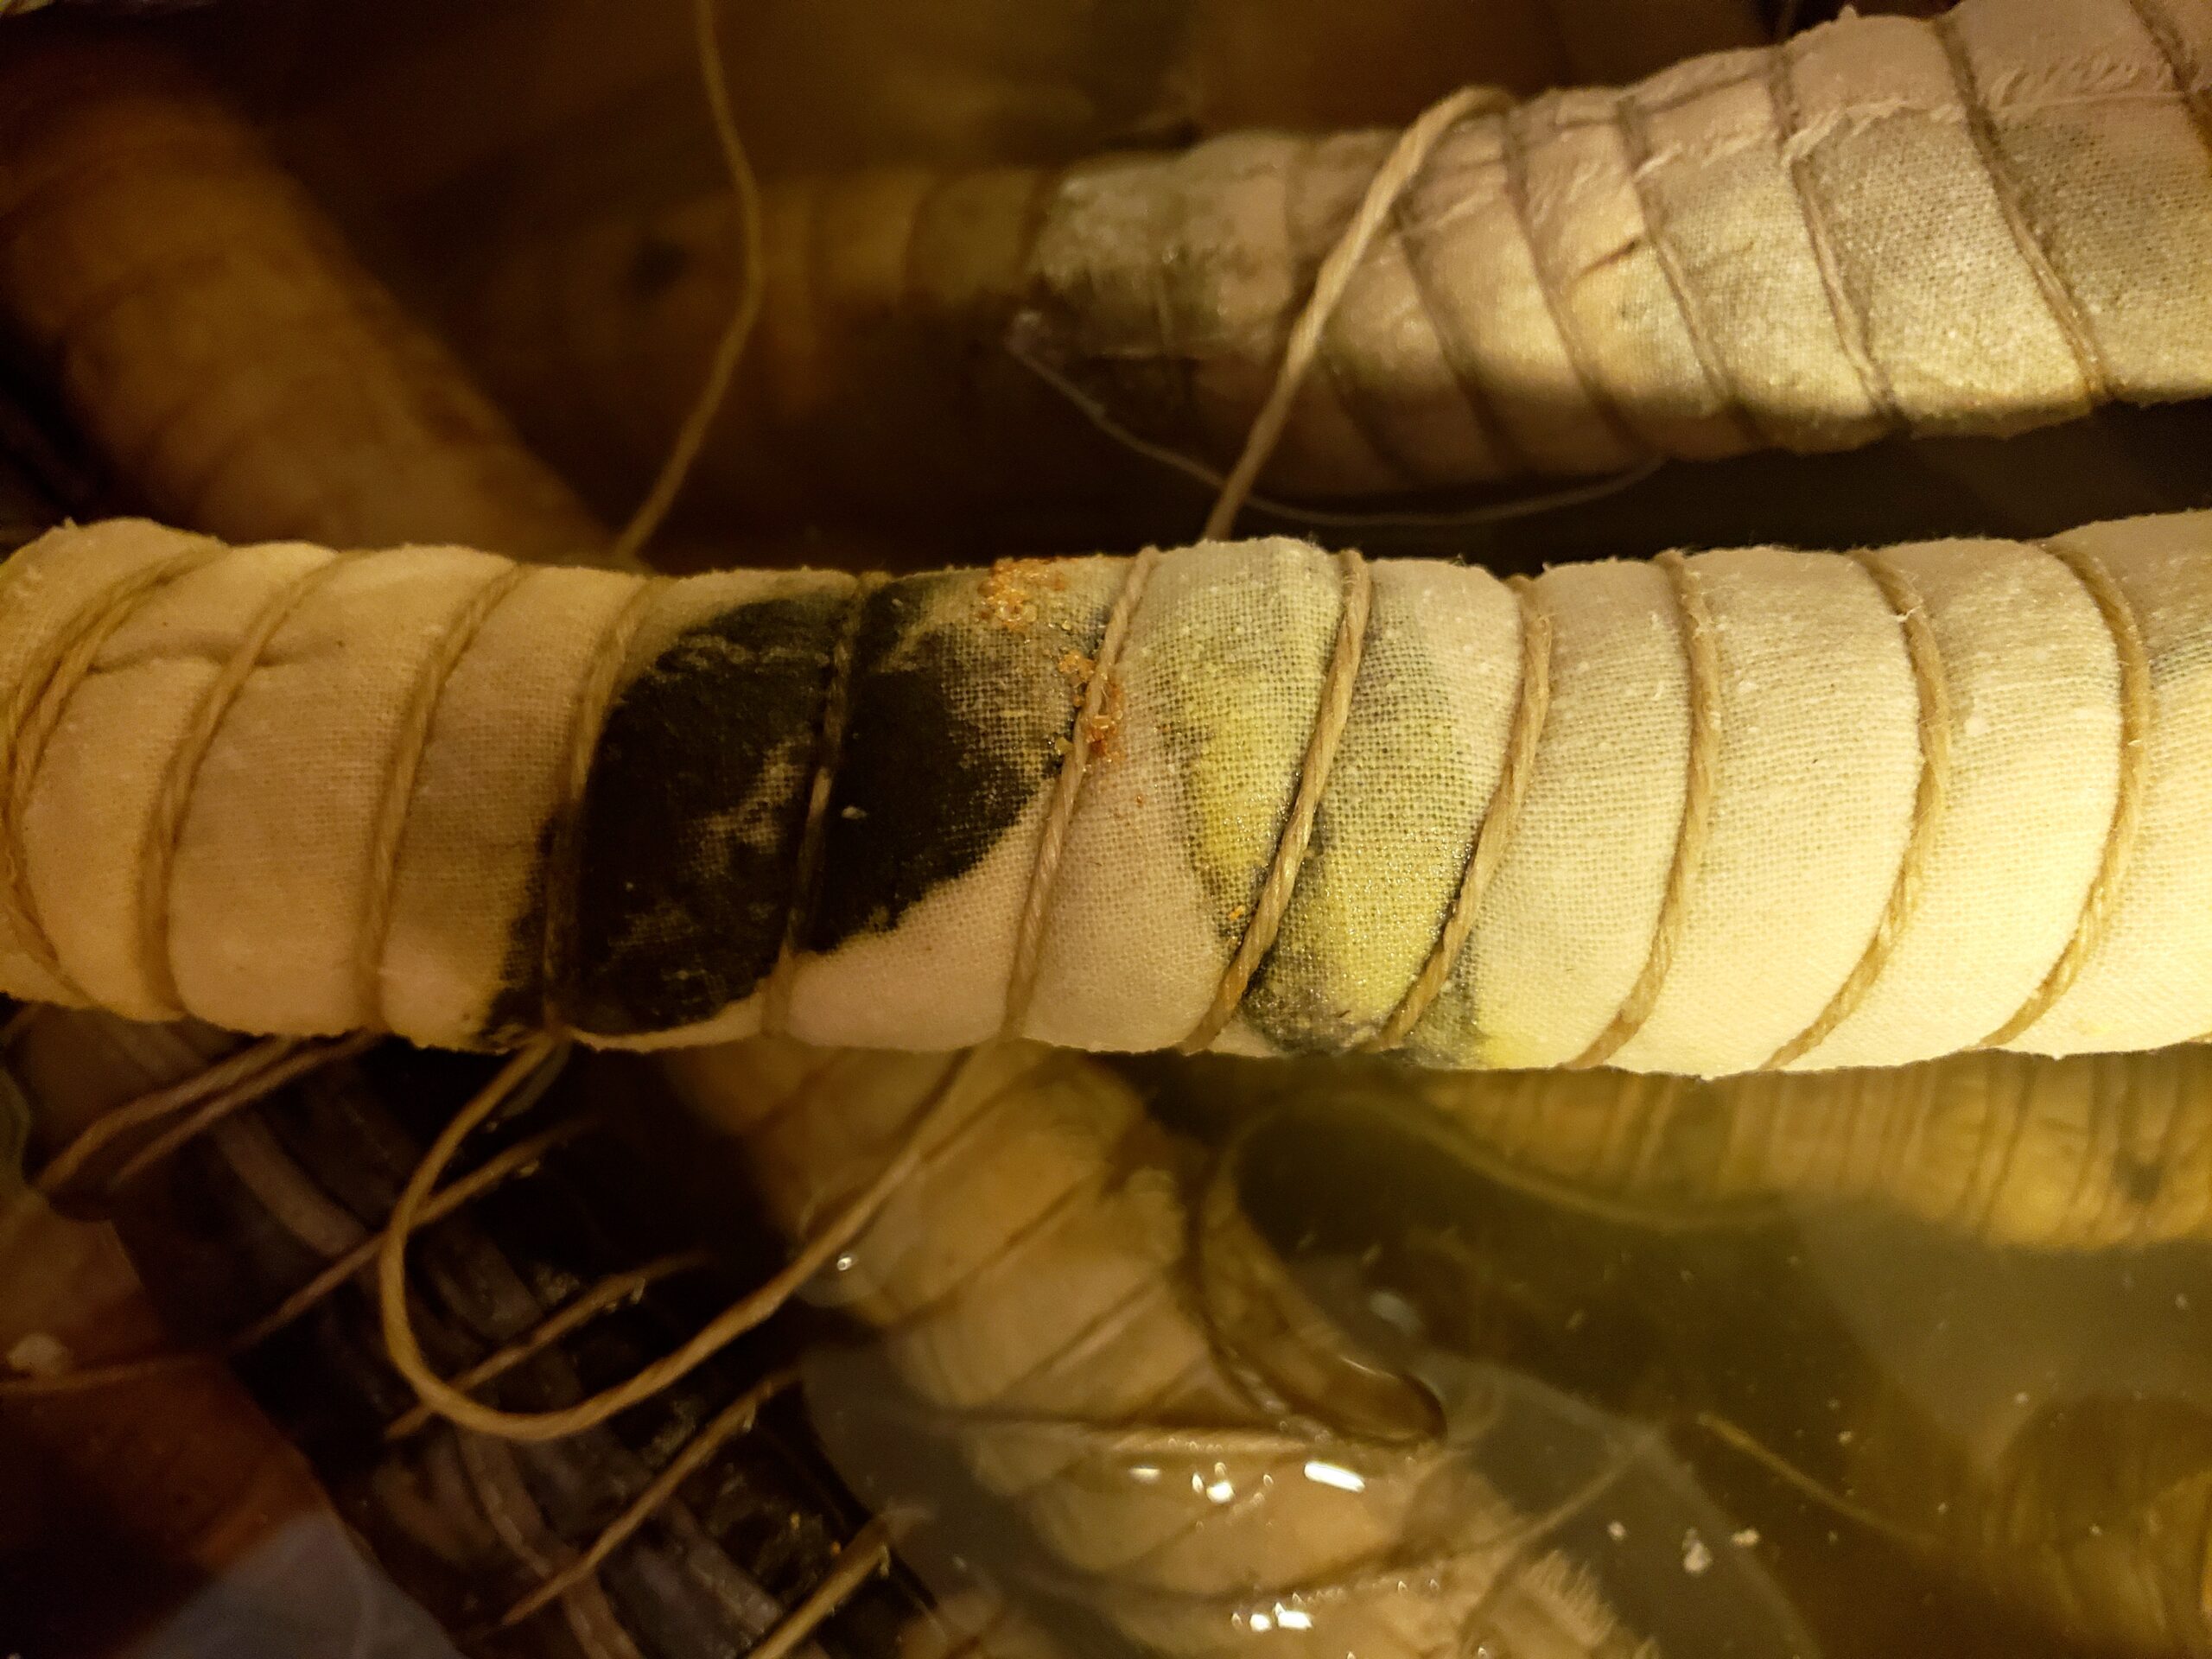
- Wrap the bundle in twine
- This is the step where my own process differs. For the traditional eco-printing process, place the basket in your pot/slow cooker and begin to steam your fibers. Do this for at least 3-12 hours for a full print. Allow your silk to cool in the vat for 48 hours, with the material resting within it. ****Personally, I have not had the same luck with steaming my fibers as I have had with fully immersing them in a vat. For this, I dissolve a small amount of alum in water, then add just a splash of vinegar to help with the bonding process. I then put the vat on low heat and let it “cook” for anywhere from days, to weeks. Not only do I usually get a more clear print, I also don’t have to worry about running out of water and accidentally burning my fibers! Don’t have the space on your stove? No problem! Throw your bundles in a glass jar and let it sit outside for several warm days for some solar dyeing! For variations in color, consider allowing your bundles to cook in cochineal or goldenrod.
- This is my favorite step! After waiting however long you desire, it is finally time to unwrap and reveal your prints!
- Allow your fiber to dry and rest for several days. I call this the “curing your colors” step; allowing your fibers to rest usually gives you better finished prints.
- Gently wash your fibers and enjoy your new prints!