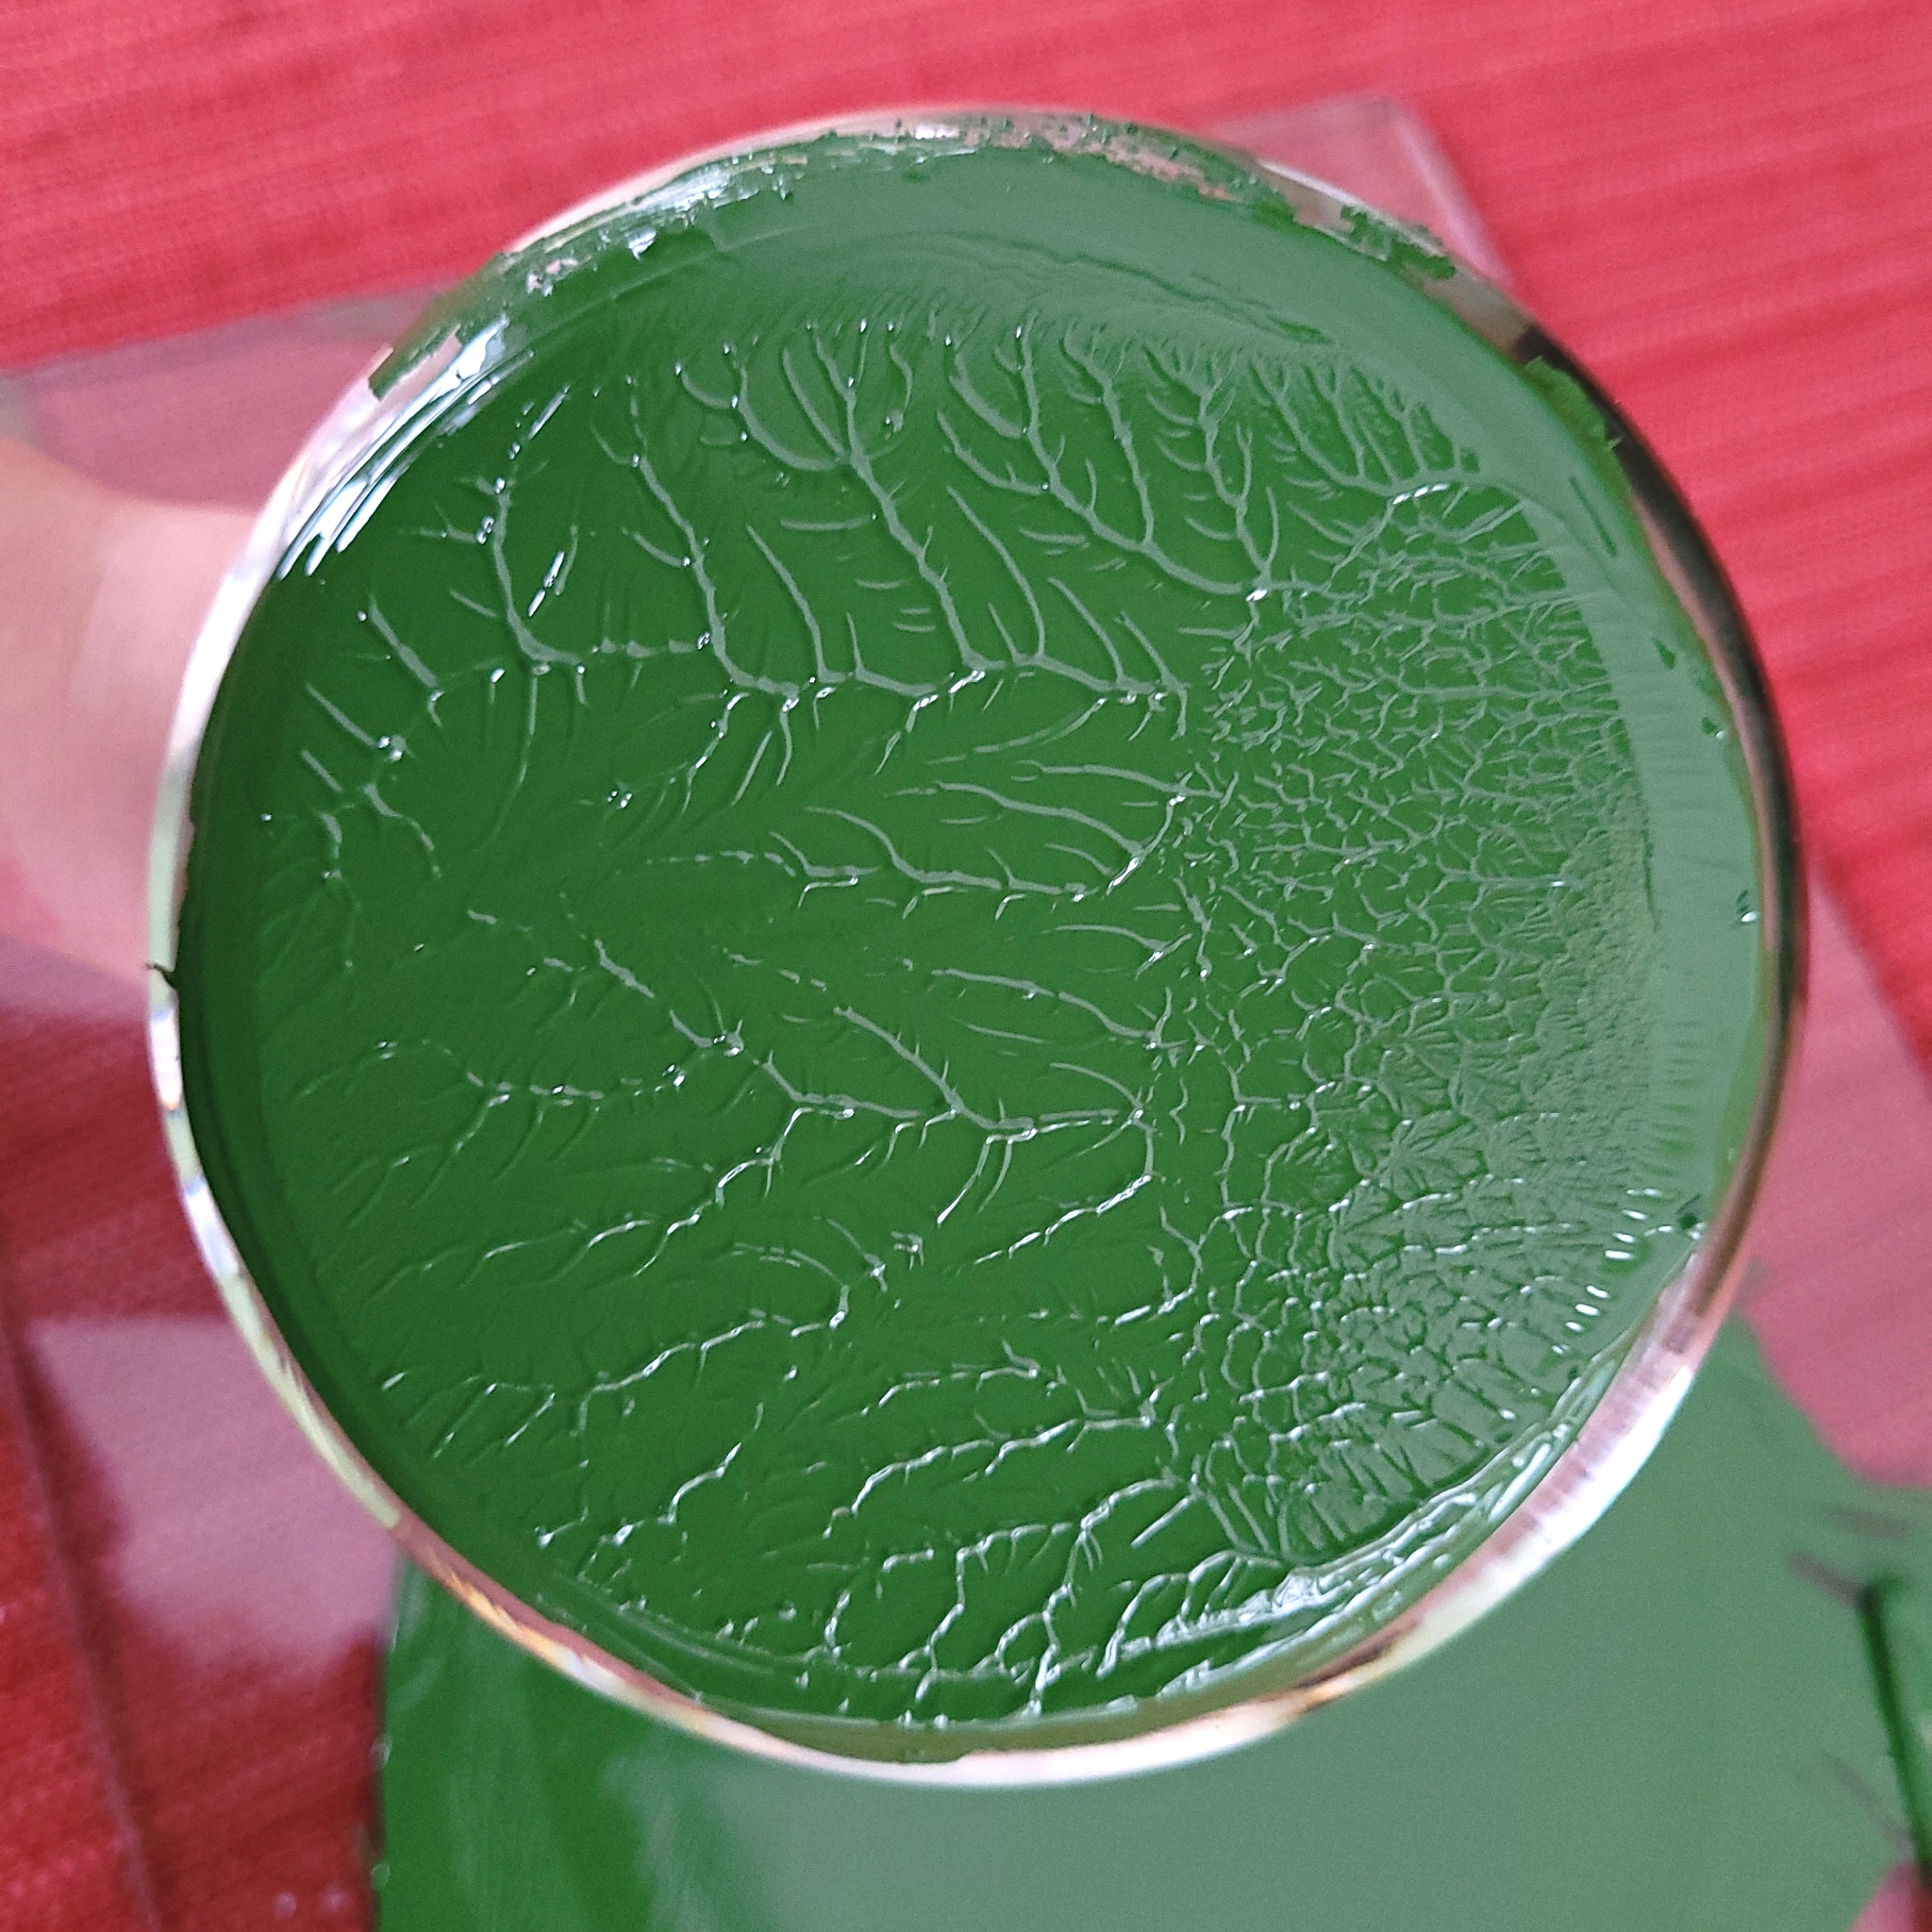
Have you ever wondered how historical artists sourced their paints? Da Vinci could not simply walk into the nearest craft store and choose from a rainbow assortment of colors to create his next masterpiece. And honestly, can you imagine the Mona Lisa painted in the gaudy acrylics you see today? Instead he– and other great artists of old– had to make their paints themselves, (or find someone who knew how to do it for them). They accomplished this by hand grinding their own pigments (usually stone, clay, bone, minerals, etc.), then hand mulling them with oil (linseed, walnut, poppy, sunflower, etc.) to create a rich, luxurious paint.
Making your own paints is extremely rewarding– especially when done with eco-friendly or historical pigments. Unlike acrylic or pre-made oil paints, not every particle of pigment is necessarily the exact same color. Think of a stone; let’s take jade for example. You could grind that up and create a green paint, but not every ground up piece of that jade would be the exact same shade of green. By blending all those tiny green particles with oil, you would create a paint with an overall green color. Due to the slight variations in each green pigment, this paint would be richer and more visually pleasing than the commercial paints in today’s market. In comparison, artificially made paints made with completely uniform pigments tend to fall flat. Making small batch oil paints from eco-friendly pigments is also obviously much better for the environment, and much better for the health of those exposed to your painting.
So if the end product is so much better, why does anyone purchase paints from the store? Well, like all good things, creating your own paint takes time! Even if you skip grinding your own pigment, the mulling process can take anywhere from five minutes to five hours– and you can only make as much as will fit on your palette! This makes every batch of paint unique, and each painting truly one of a kind.
Still interested? You really only need a few basic tools! You will need:
- Palette
- Palette knife
- Your choice of pigment
- Your choice of oil
- A container to store your finished paint
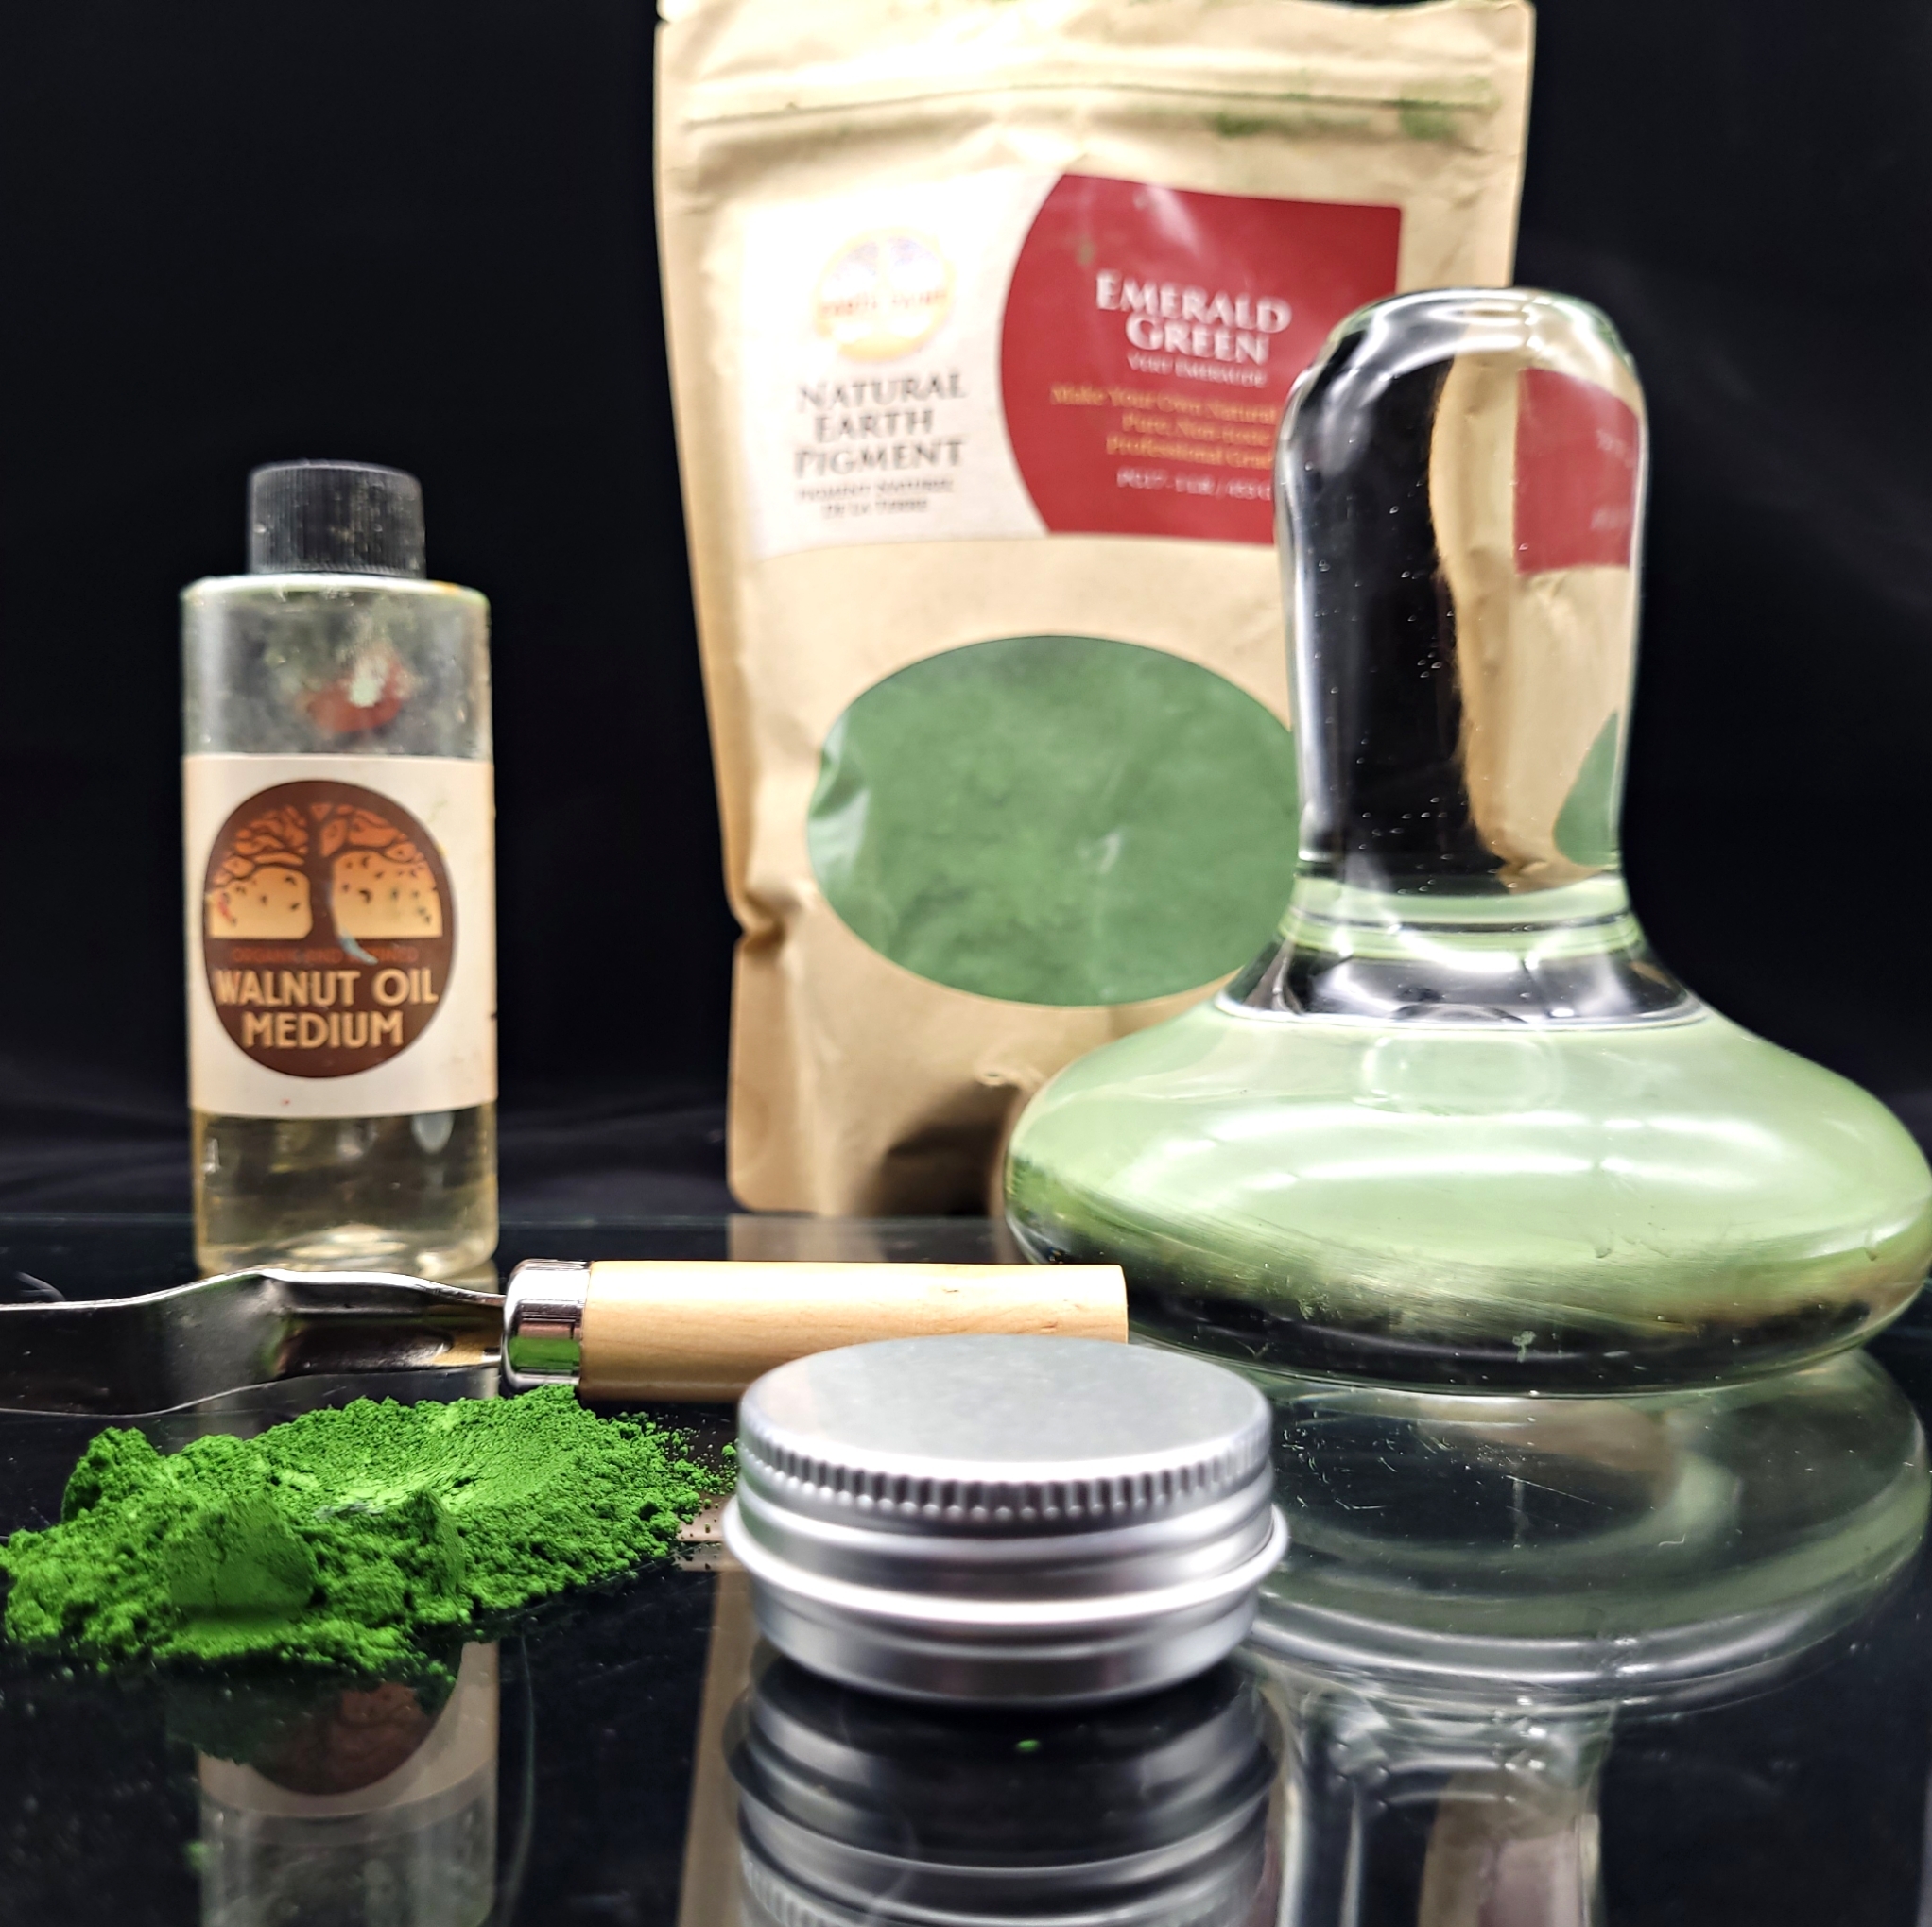
Step 1: Build a small “well” of pigment in the center of your palette. For my pigment, I prefer to use eco-friendly Natural Earth Paint.
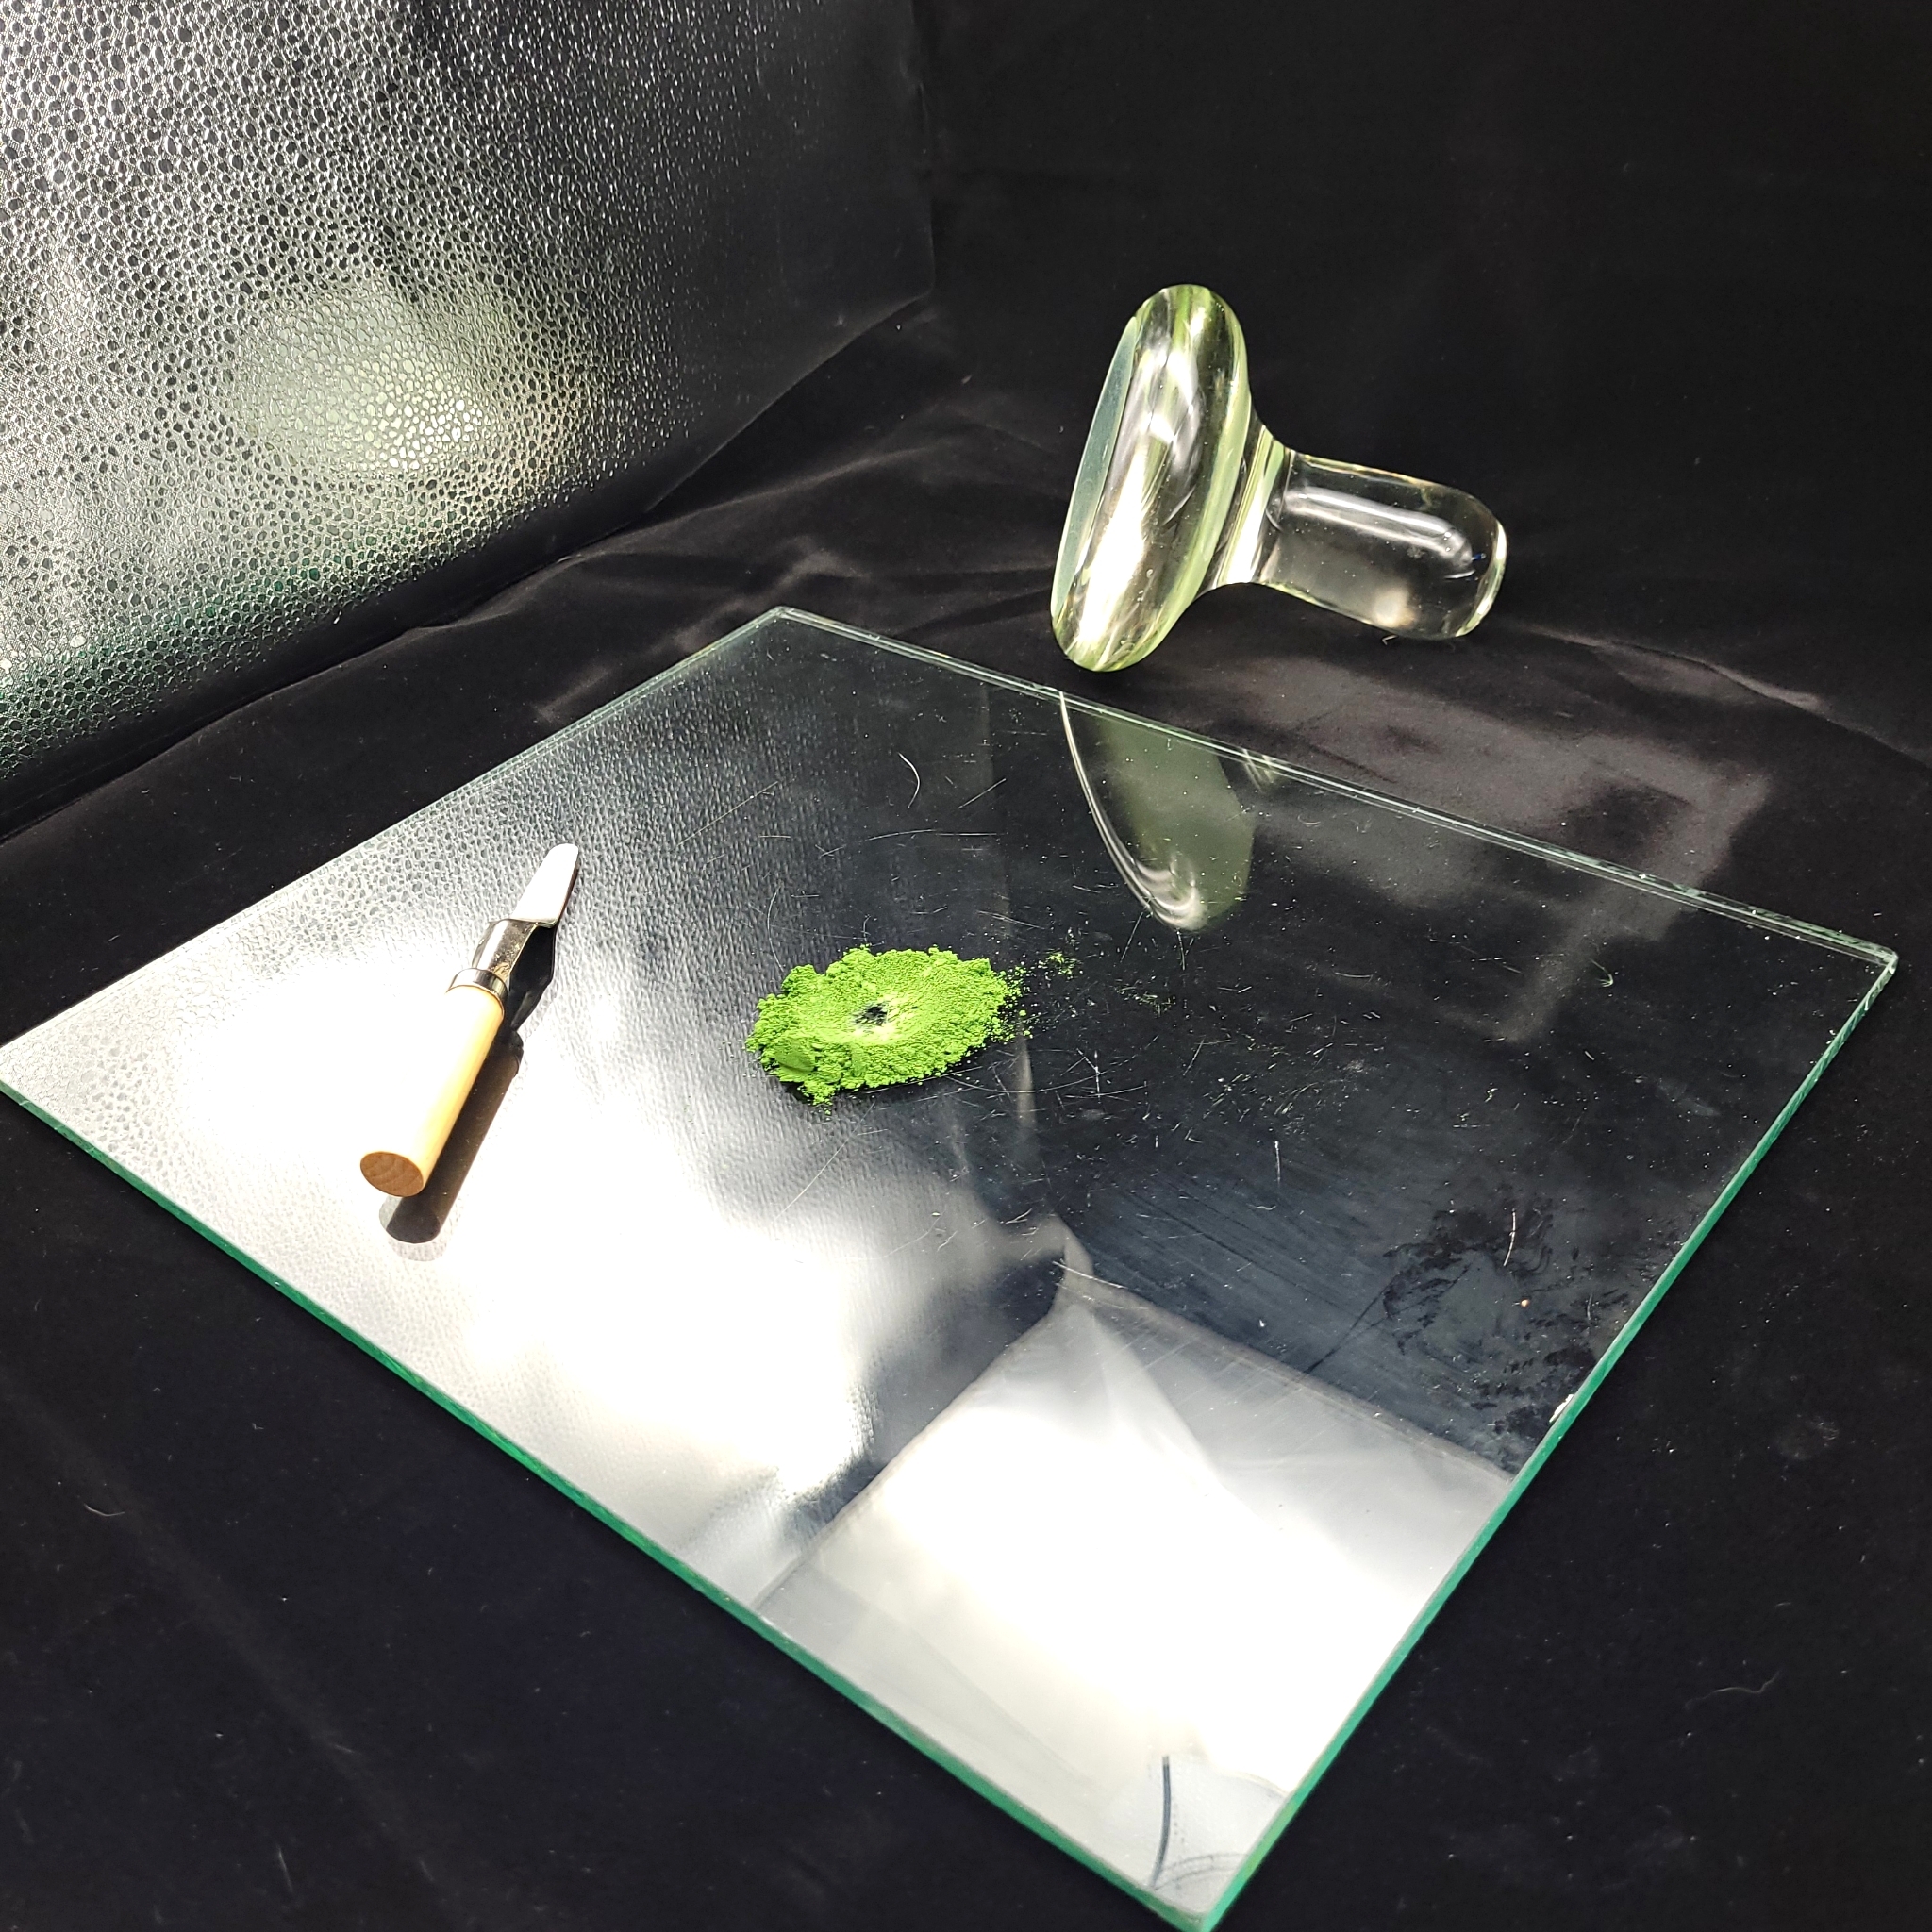
Step 2: Fill your well with oil. I prefer to use organic walnut oil.
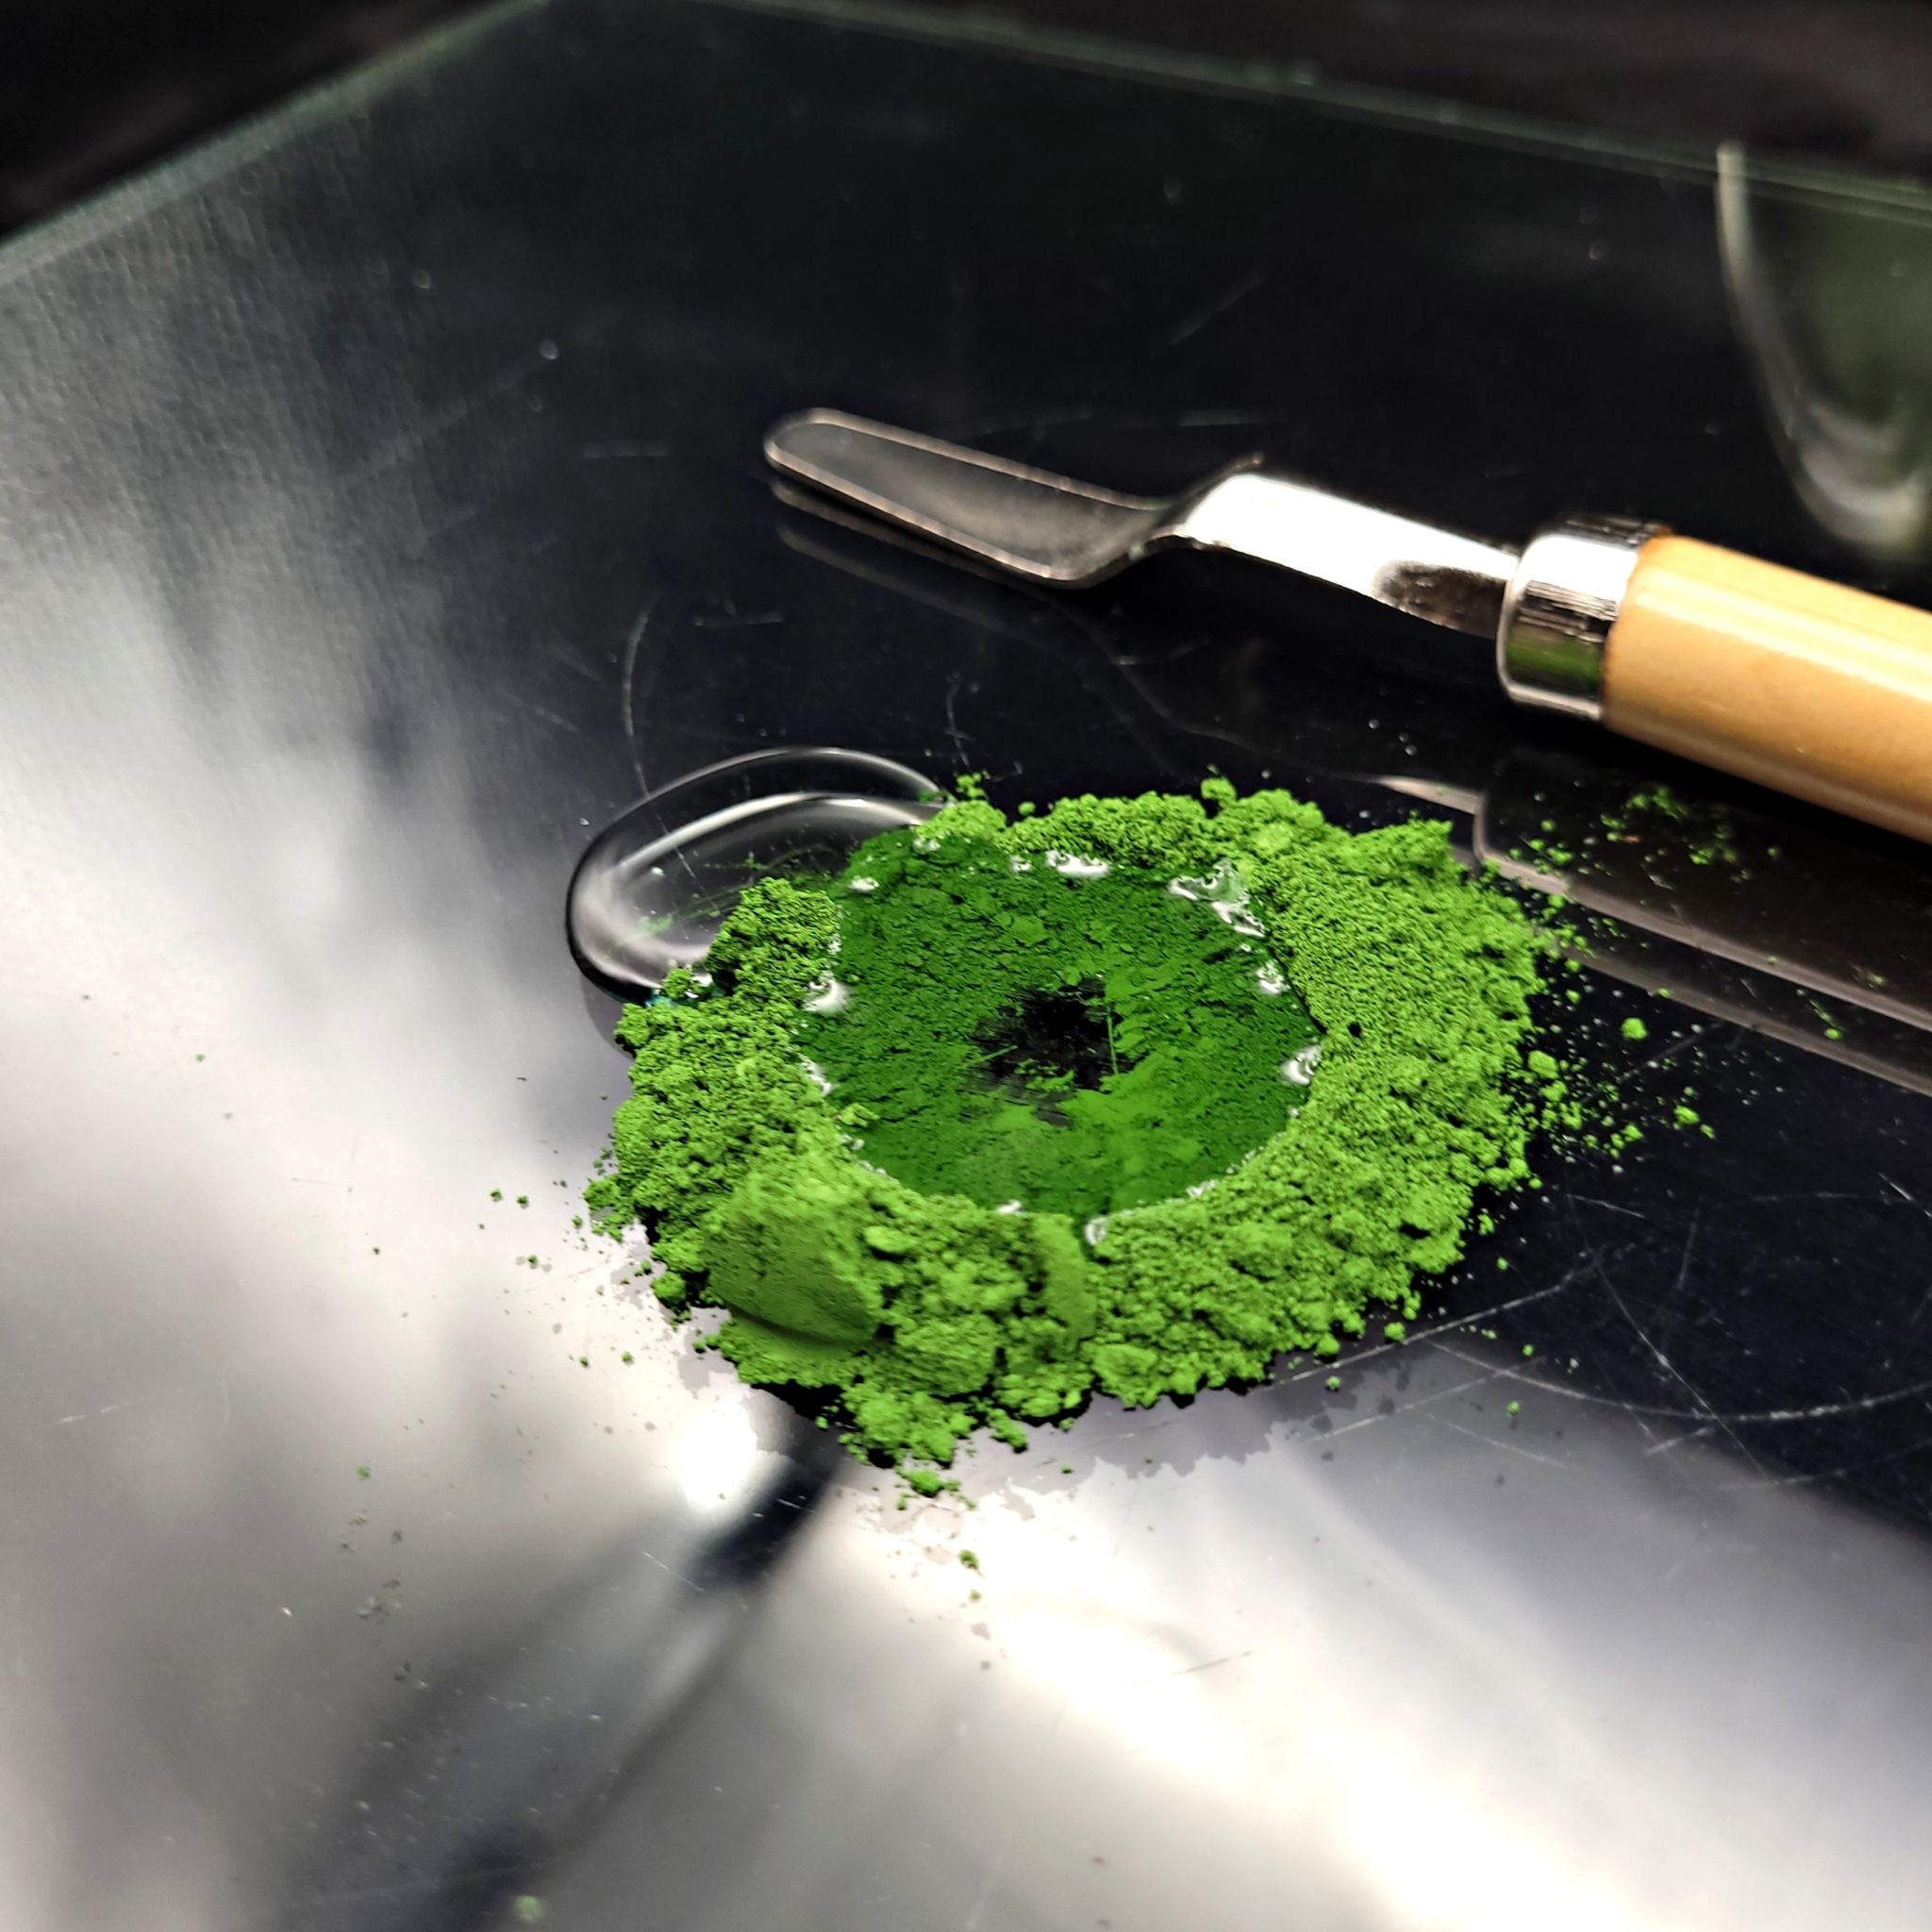
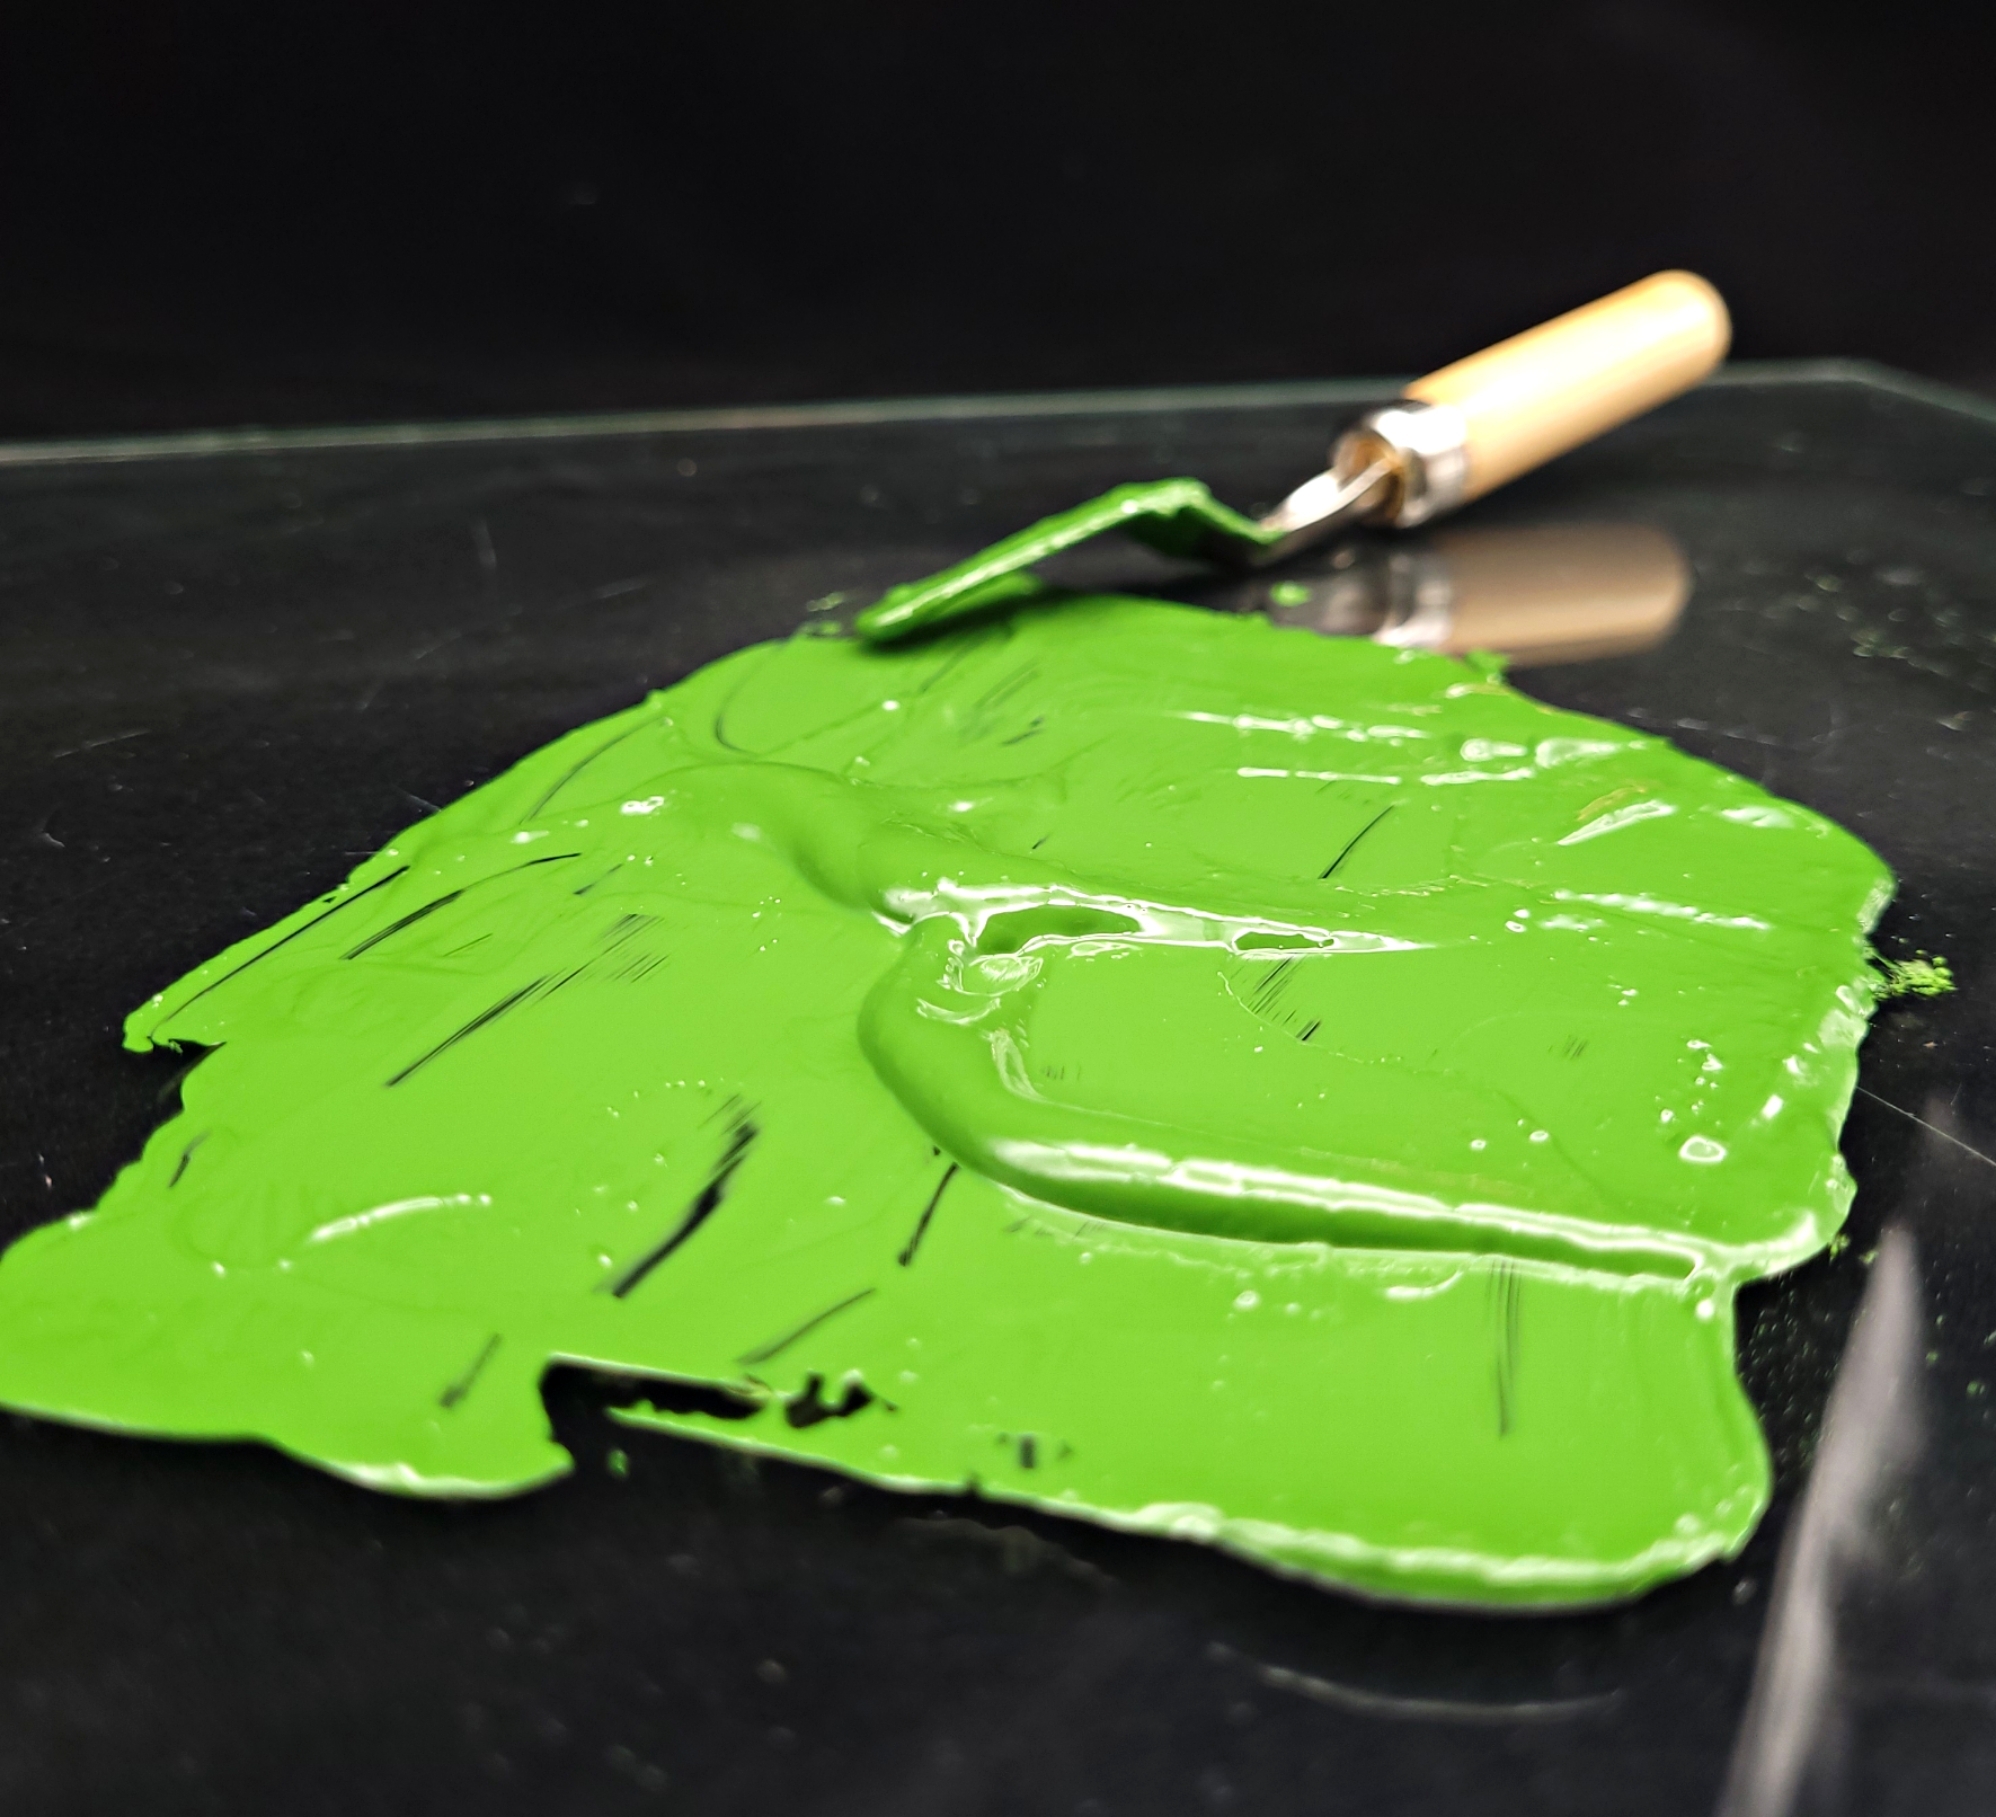
Step 3: Mix thoroughly using your palette knife. (One photo is the switch to natural lighting, as the next step is a little tricky to do in a light box).
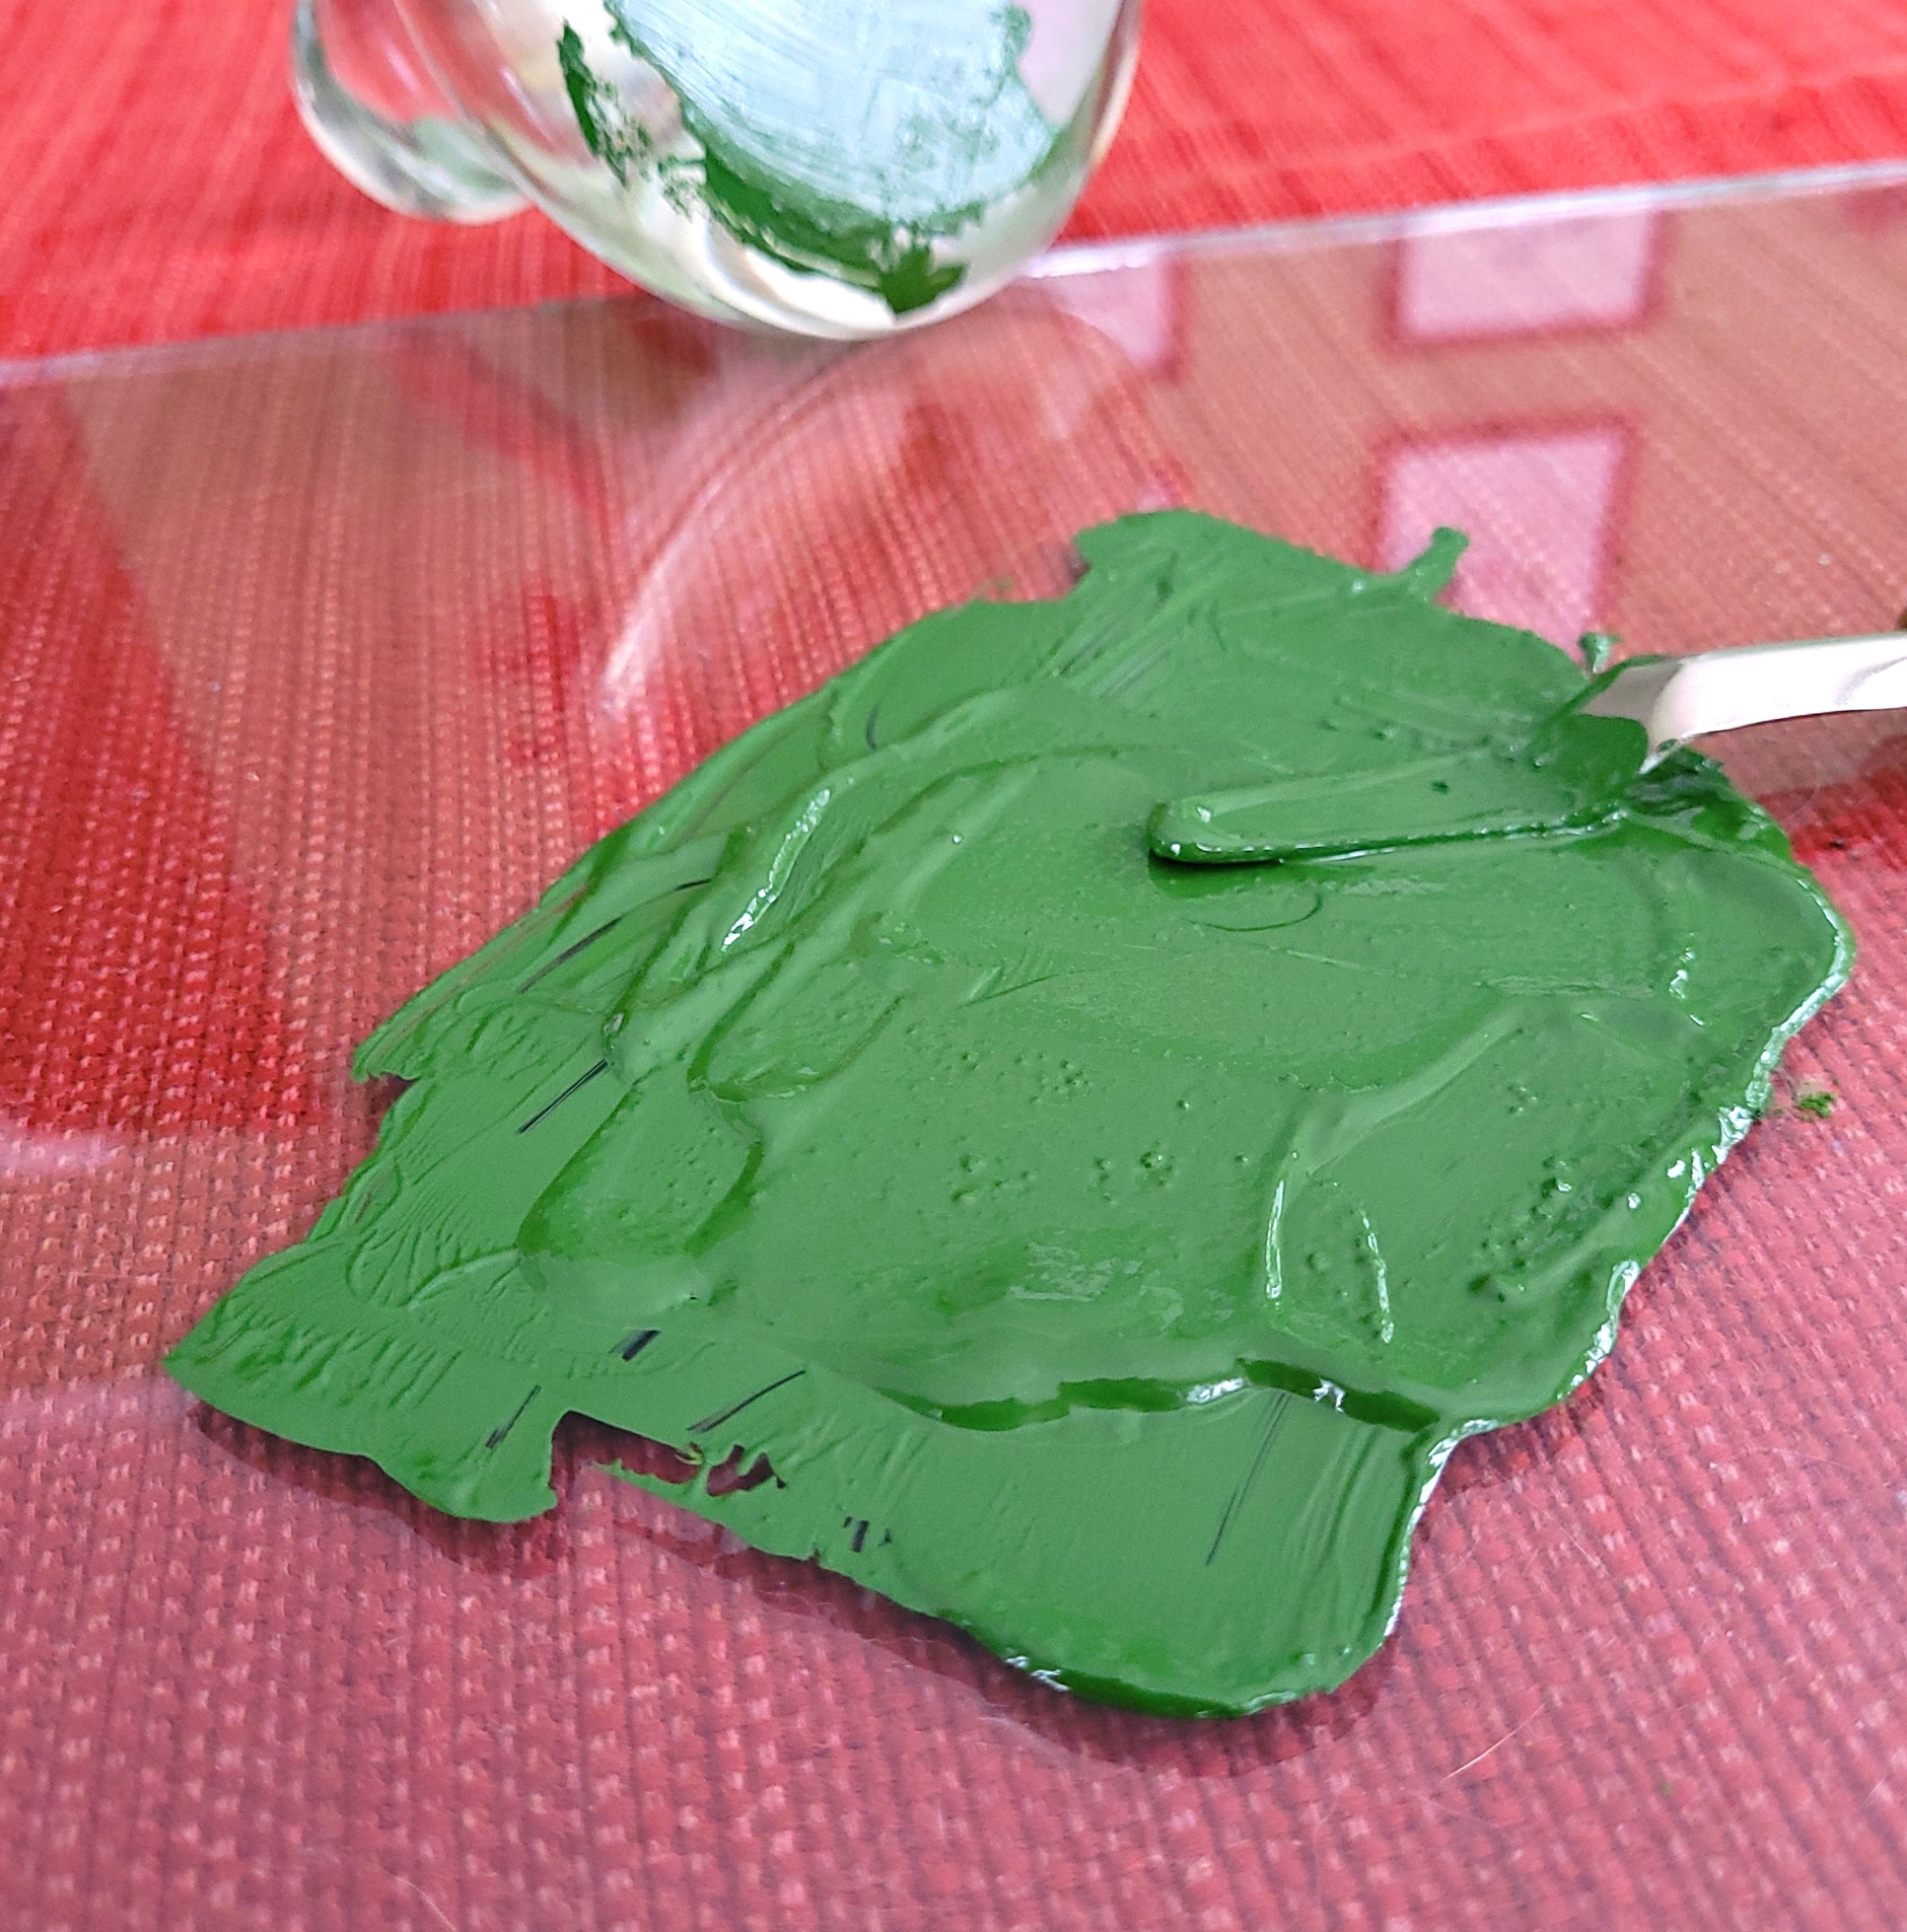
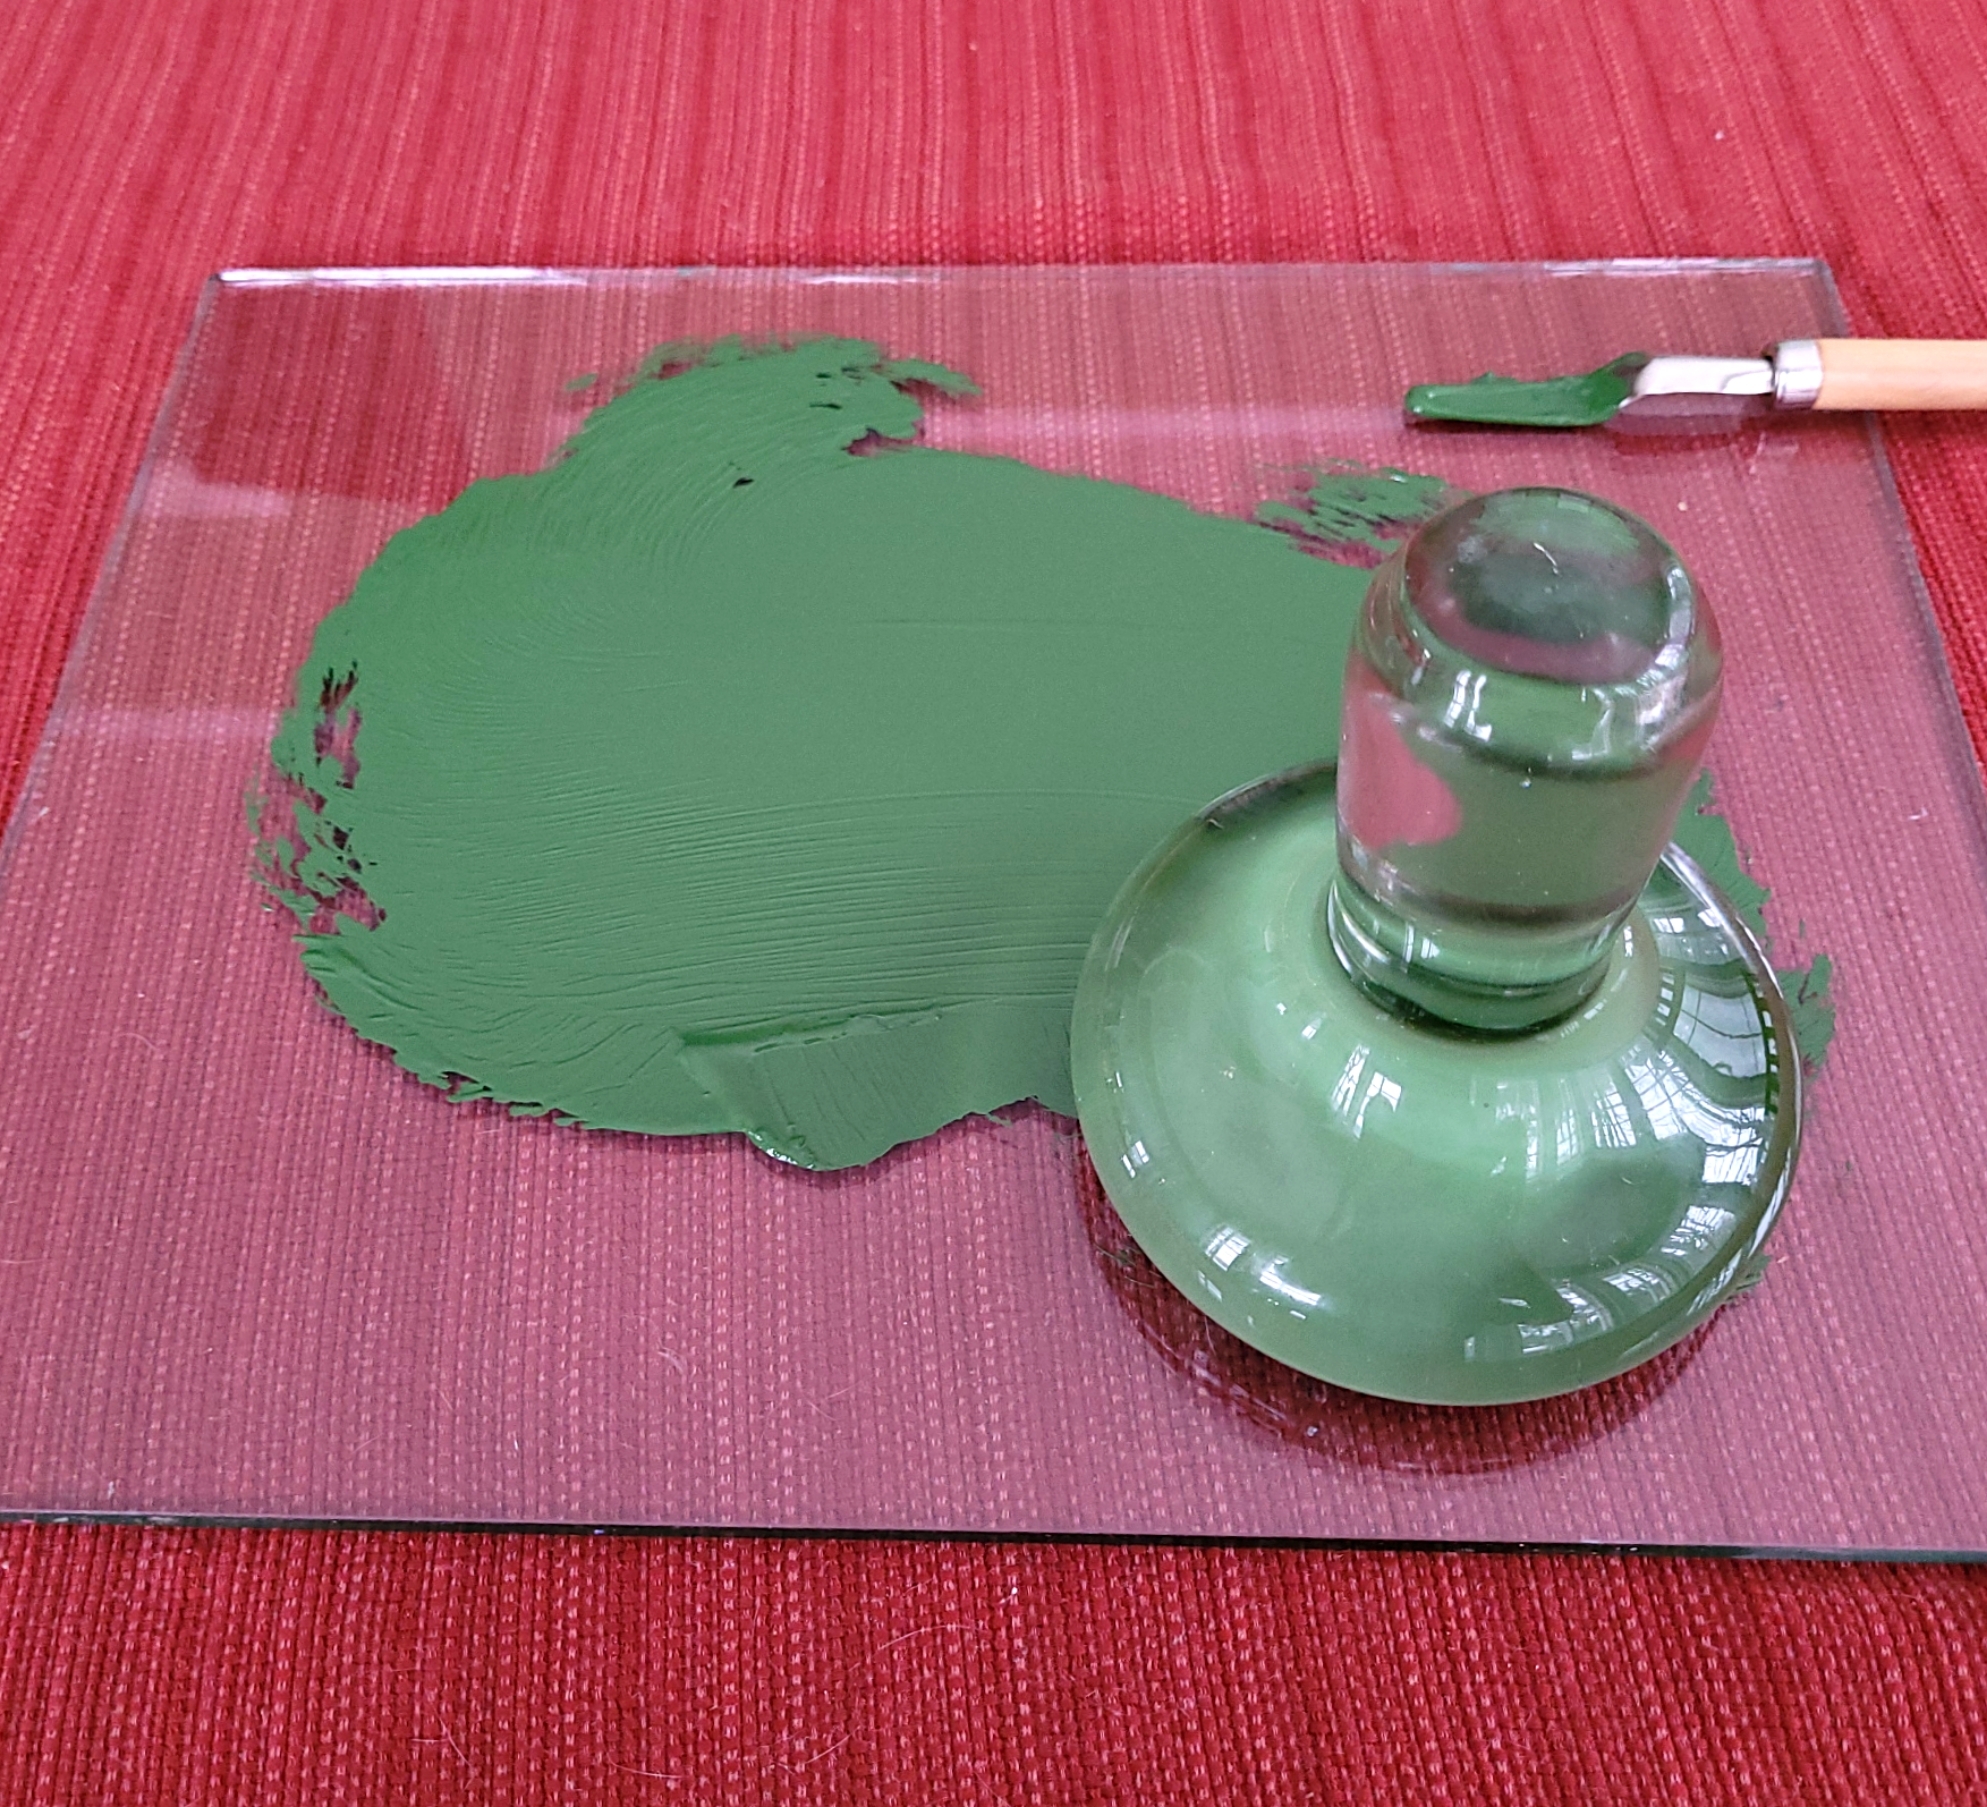
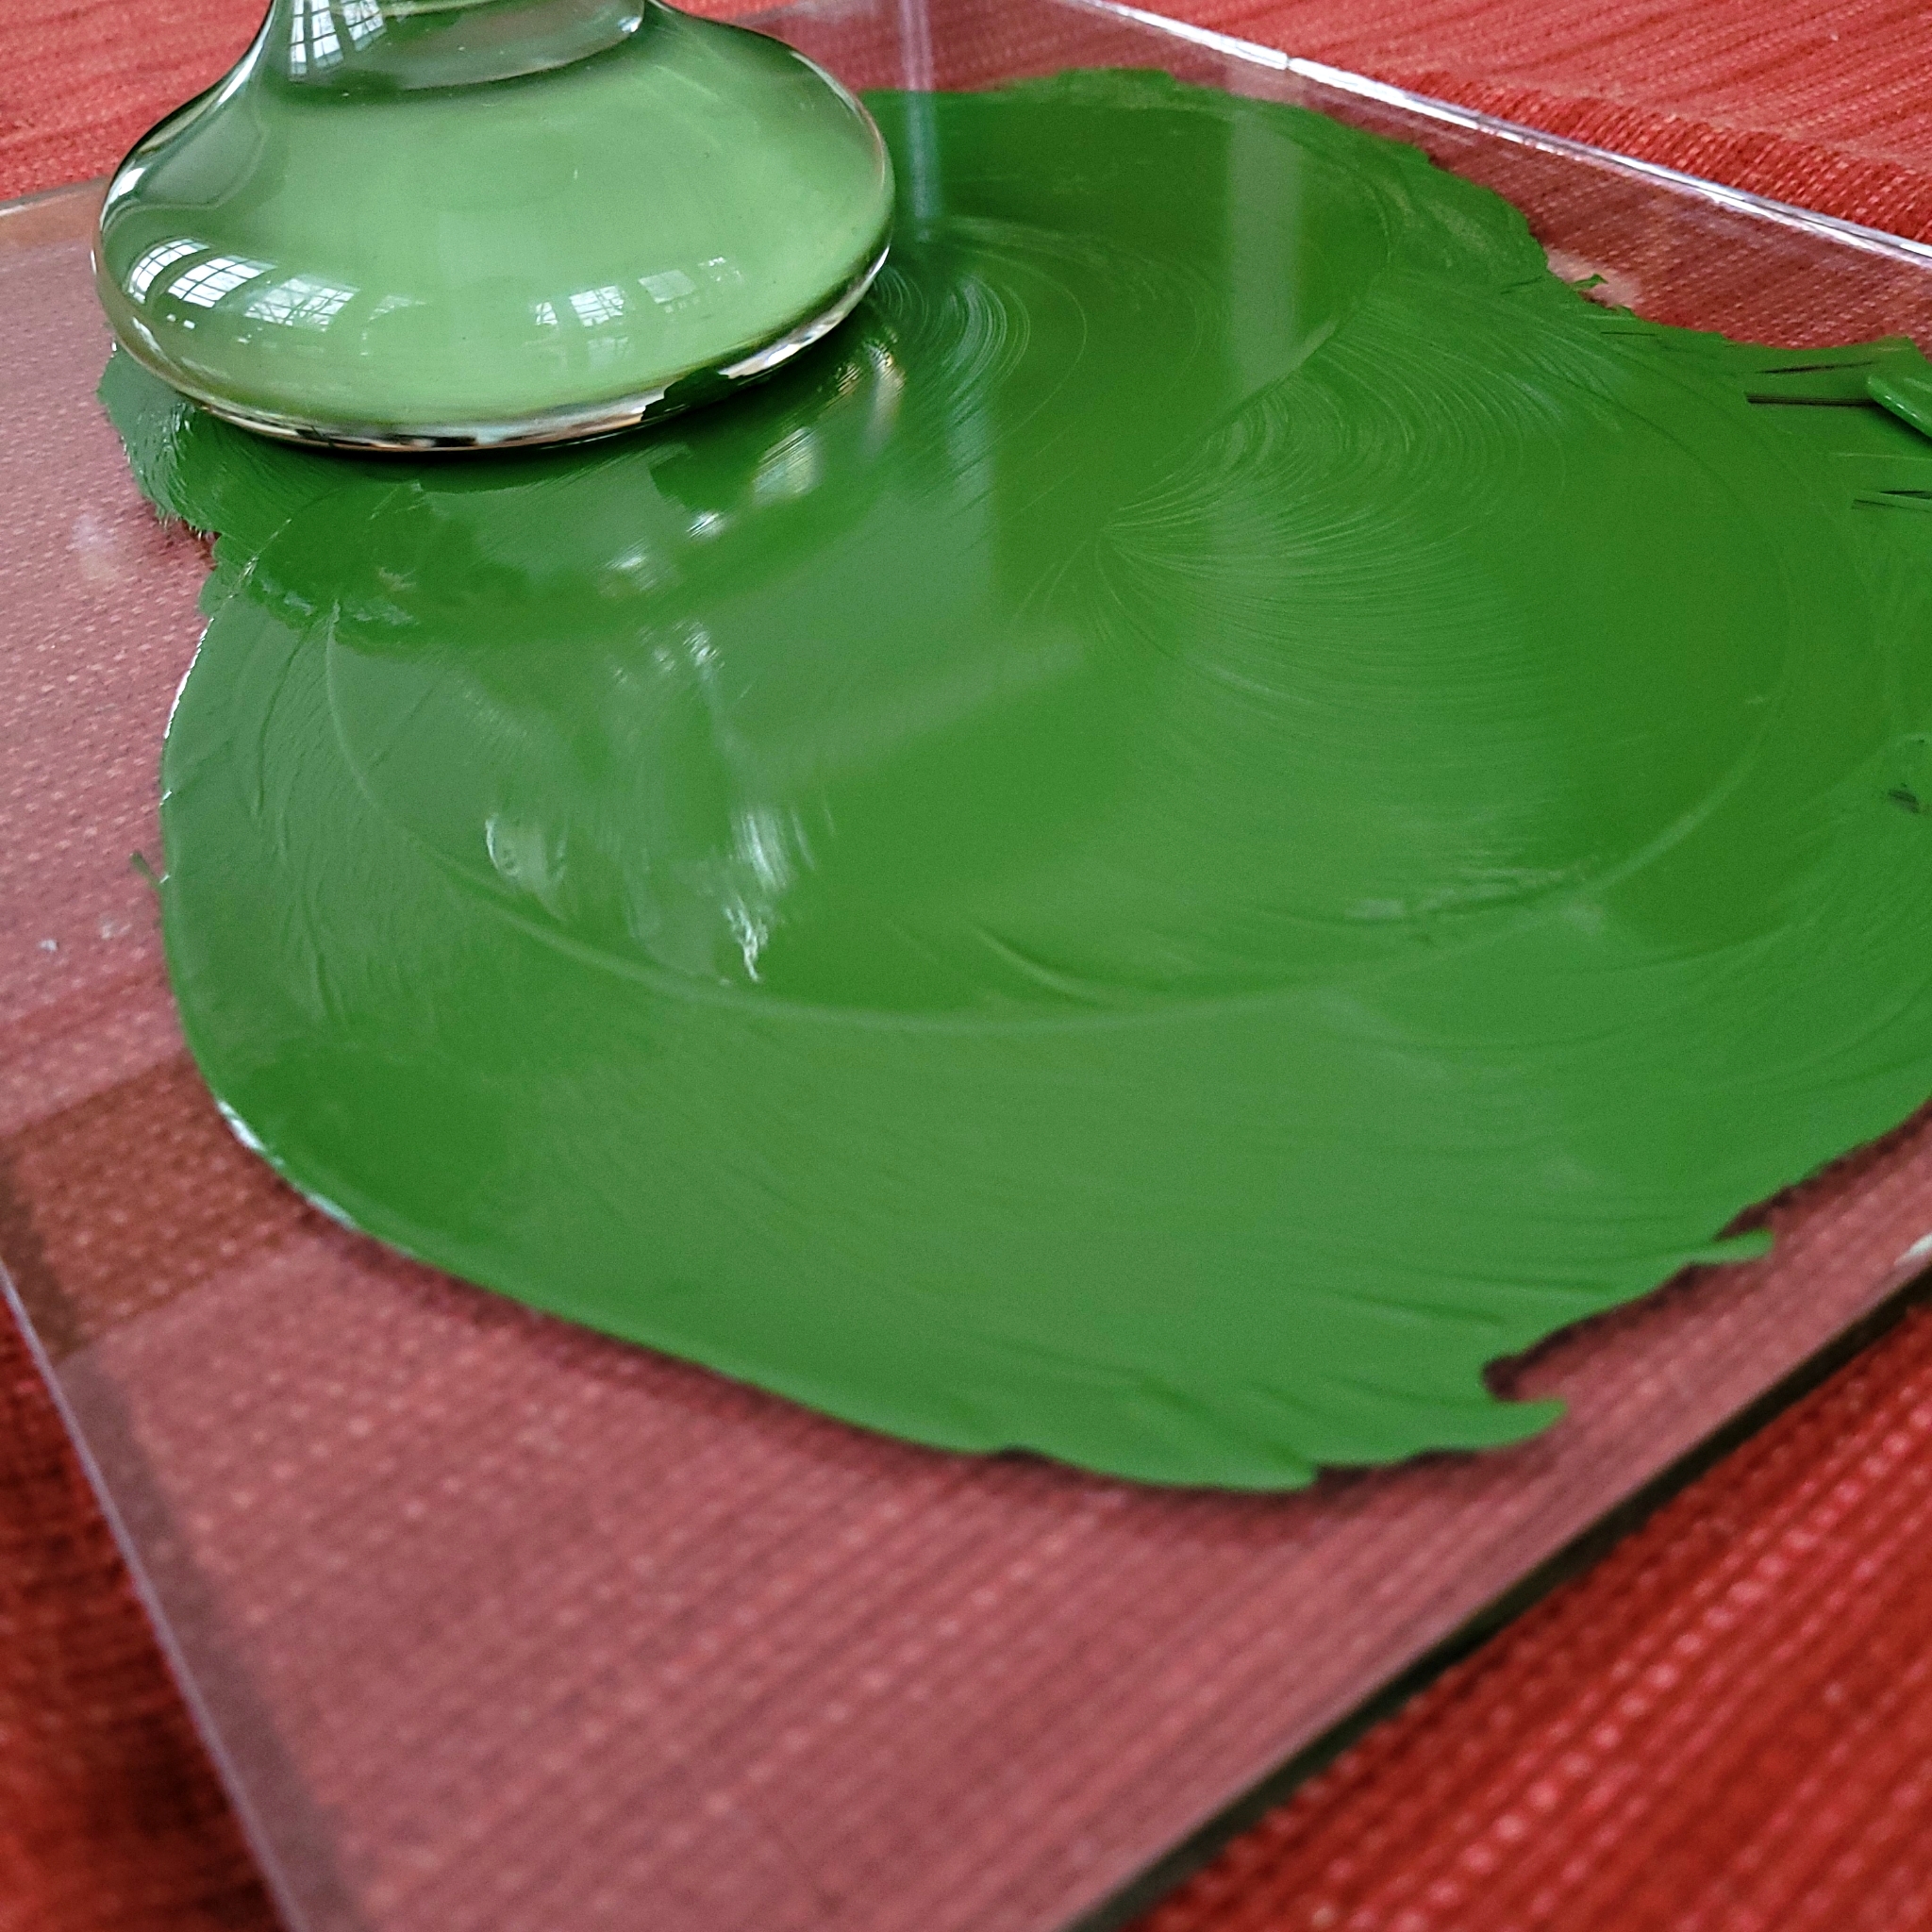
Step 4: Place your muller over your mixture, and gently move it over your palette in a figure eight motion until it is completely smooth, or until it is the desired texture.
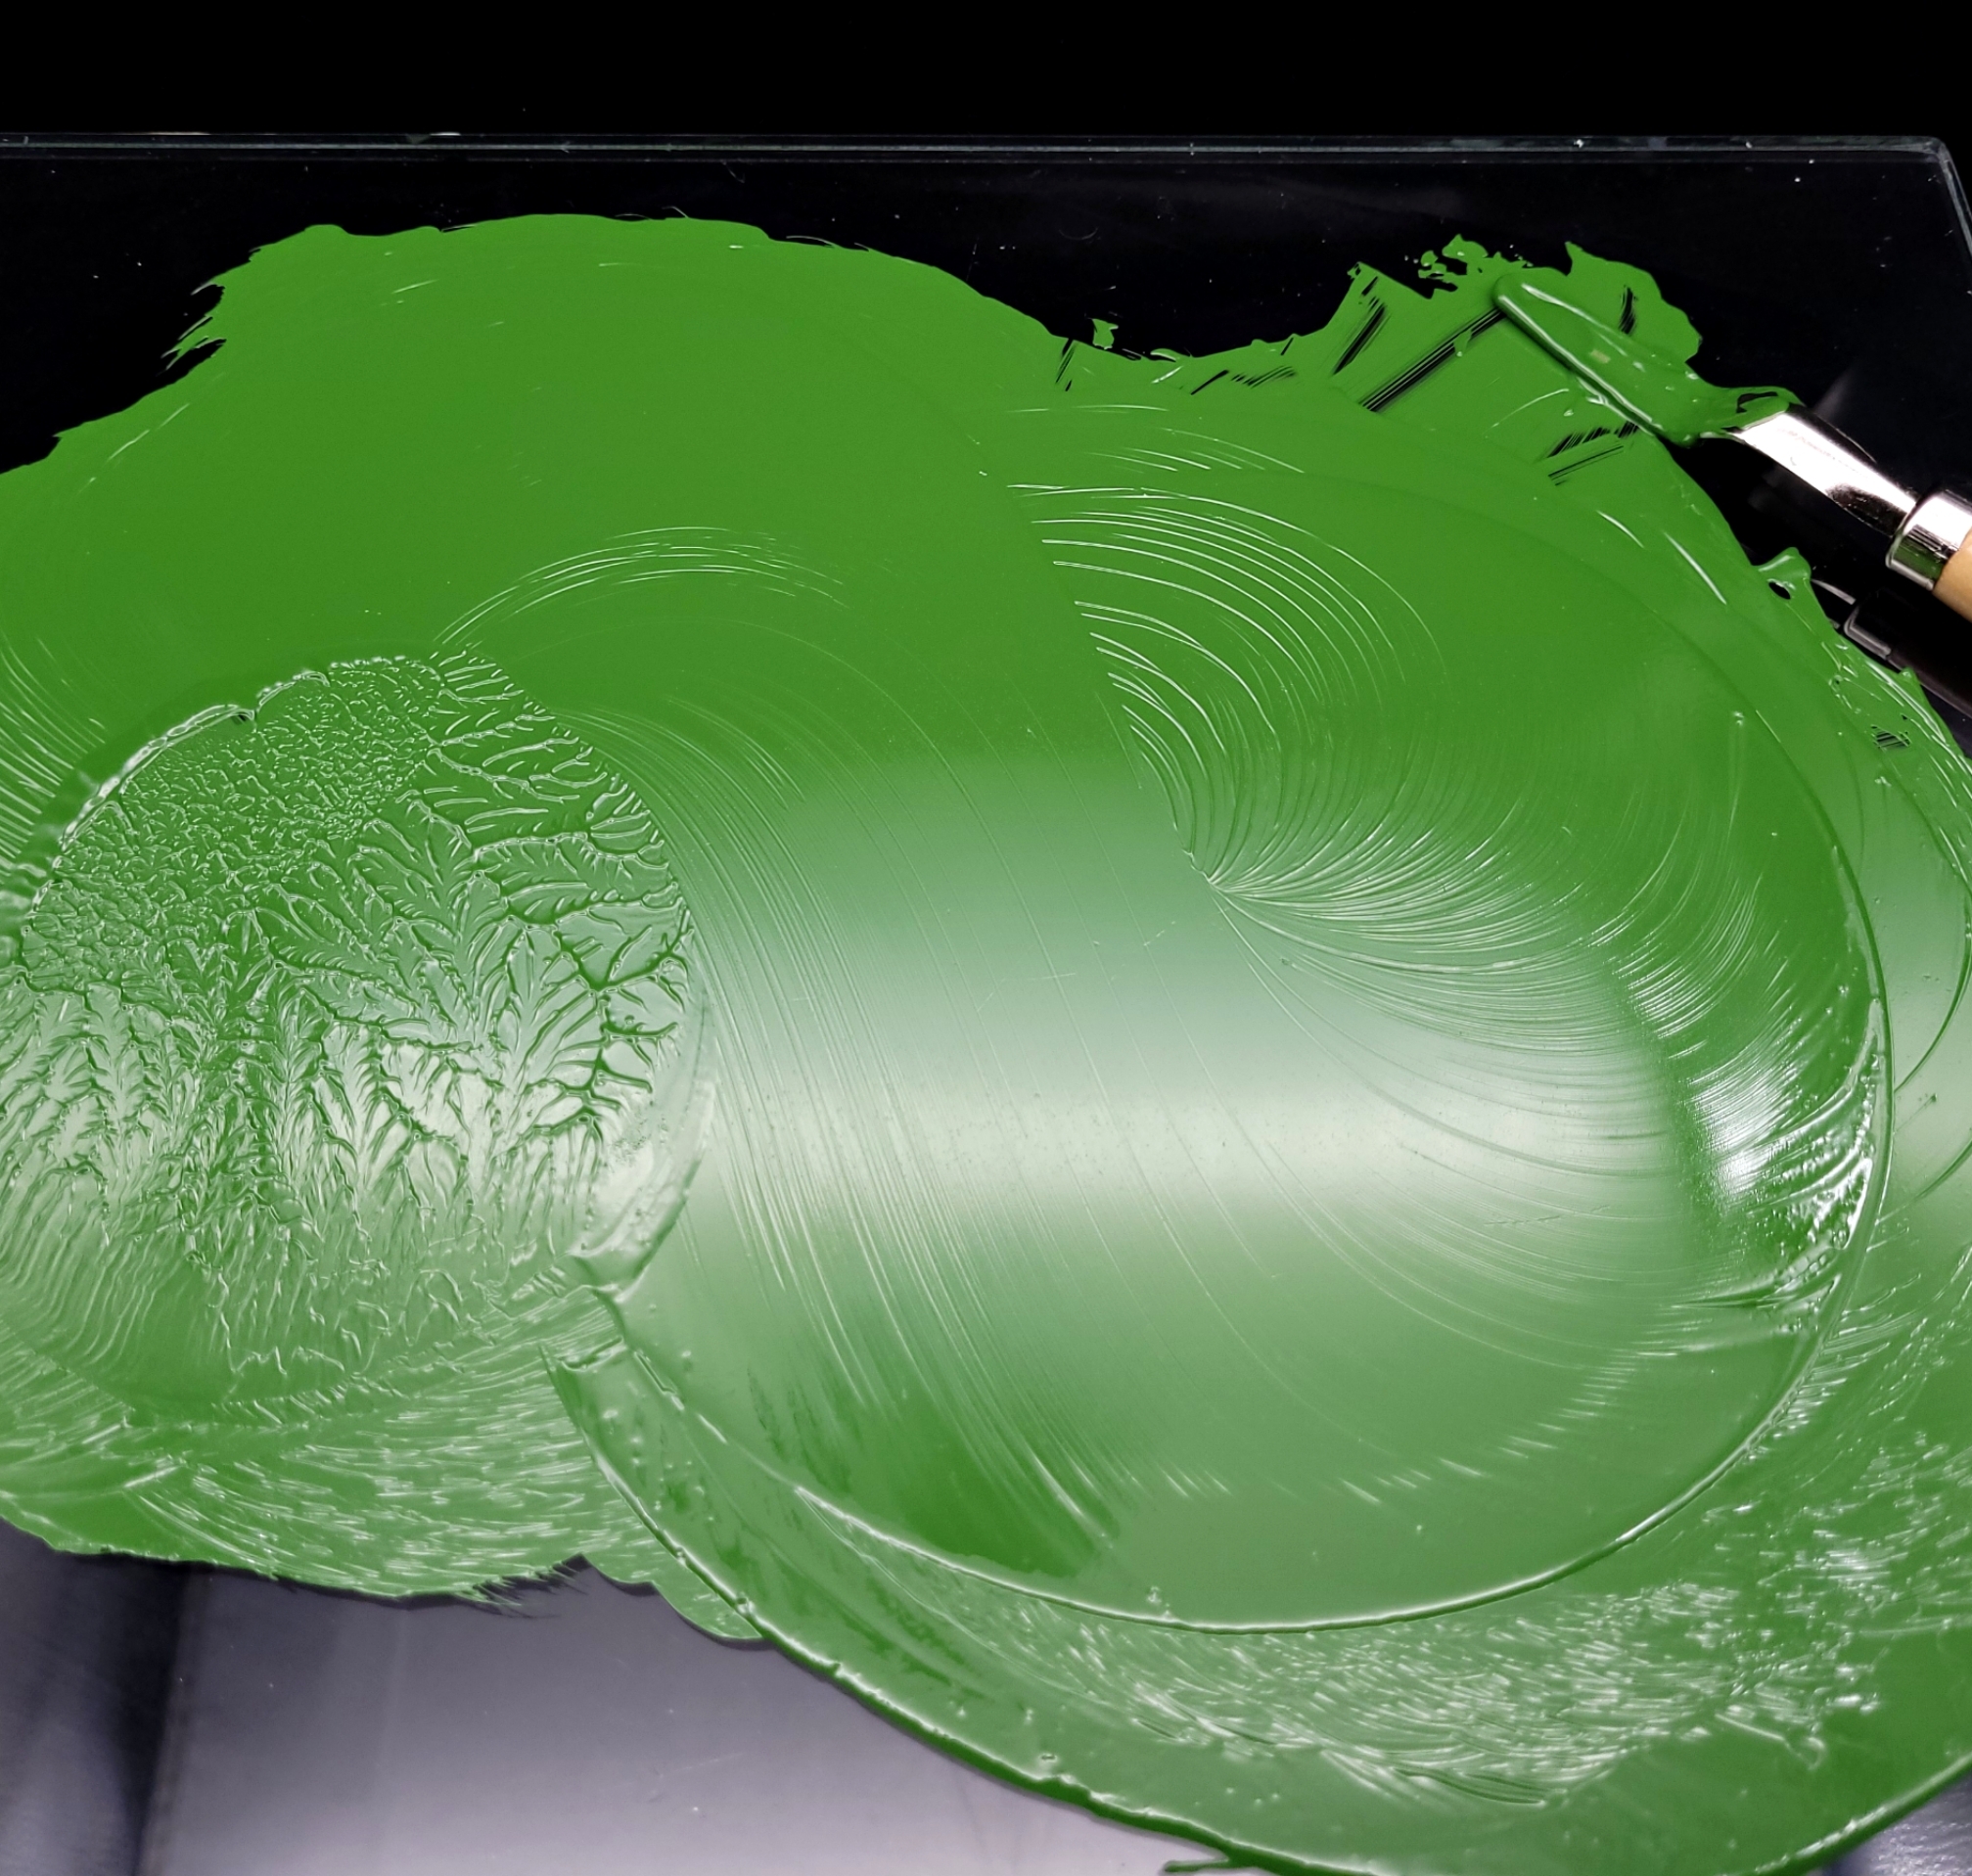

Step 5: Don’t waste all your work! Gently scrape all your paint in to your chosen container, stick it in your fridge, and grab it the next time you are in the mood to paint!
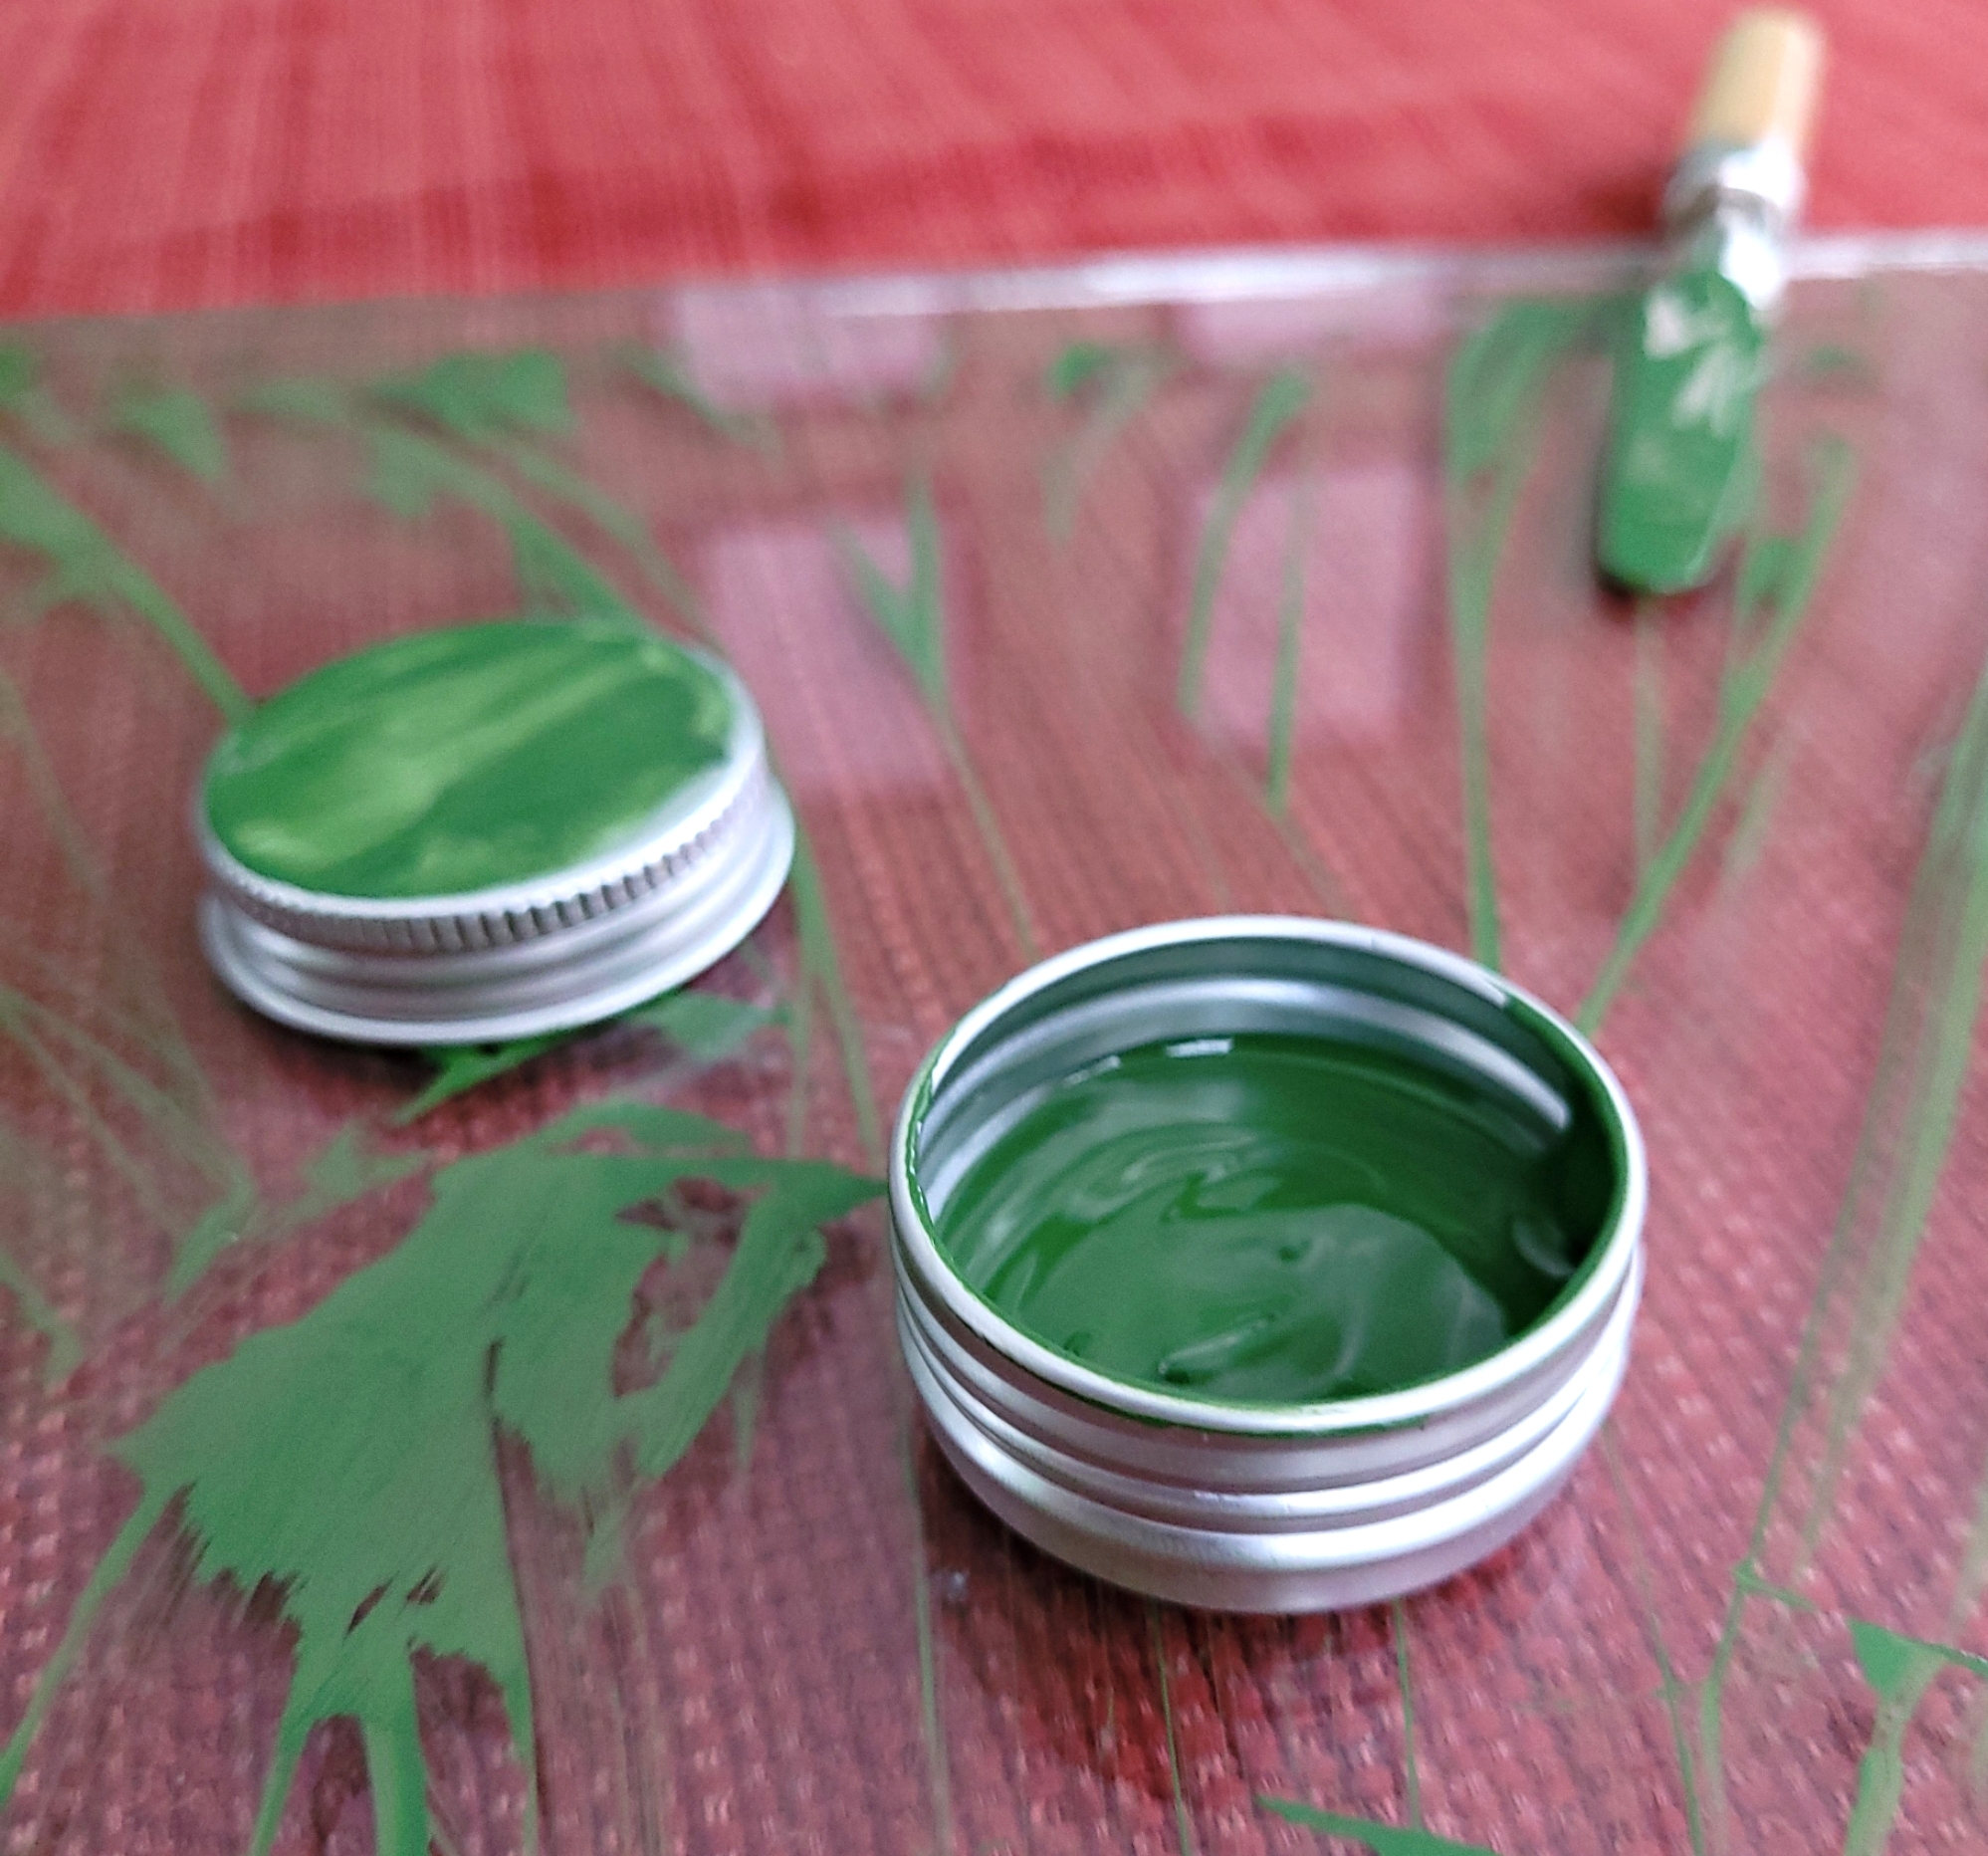
And that is it! You have created paint like a true artisan. Be proud of yourself, and make a masterpiece!